How to Create Additional Templates with Out of the Sandbox Theme Editor?
With the Out of the Sandbox Theme Editor, you have the tools at your fingertips to craft a visually stunning and user-friendly online store tailored to your unique brand identity. In this comprehensive guide, we’ll walk you through how to create additional templates with Out of the Sandbox theme editor. In addition, we’ll also explain customizing your store’s templates and tweaking default settings.
How Out of the Sandbox Theme Editor Helps Shopify Store Owners?
The Out of the Sandbox Theme Editor is a comprehensive tool designed specifically for Shopify store owners, offering customization options without needing advanced technical knowledge. This editor allows users to easily adjust elements such as colors, fonts, layouts, and template structures.
Key features include the ability to customize default templates for:
- Product pages
- Collection pages
- Blog pages
- Blog posts
- Static pages
Users can tailor these templates to align with their brand identity and desired user experience. Check out this guide if you want to know how to add sections to pages on Out of the Sandbox theme.
Moreover, the Theme Editor enables the creation of alternative templates, providing flexibility in presenting different sections of the store. This functionality allows for targeted customization, catering to specific products, collections, or content types.
An essential aspect of the editor is its responsiveness, ensuring that store designs remain visually appealing and functional across various devices and screen sizes. This responsiveness is crucial for maintaining a seamless user experience and accommodating the preferences of diverse audiences.
The Theme Editor eliminates the need for coding expertise, empowering store owners to take control of their store’s design and functionality independently. This democratization of customization enables users to iterate quickly and efficiently, saving time and resources.
How to Customize an Existing Template?
We have a whole guide dedicated to customizing your Shopify theme with the Out of the Sandbox theme editor. If you’re using an Online Store 2.0-compatible theme from Out of the Sandbox, you’ve got the power to customize templates for various aspects of your store: products, collections, blogs, blog posts, and static pages. Let’s find out how you can tweak the default templates.
Each section of your store—be it a product page, collection page, blog page, blog post, or static page—comes with its own default template.
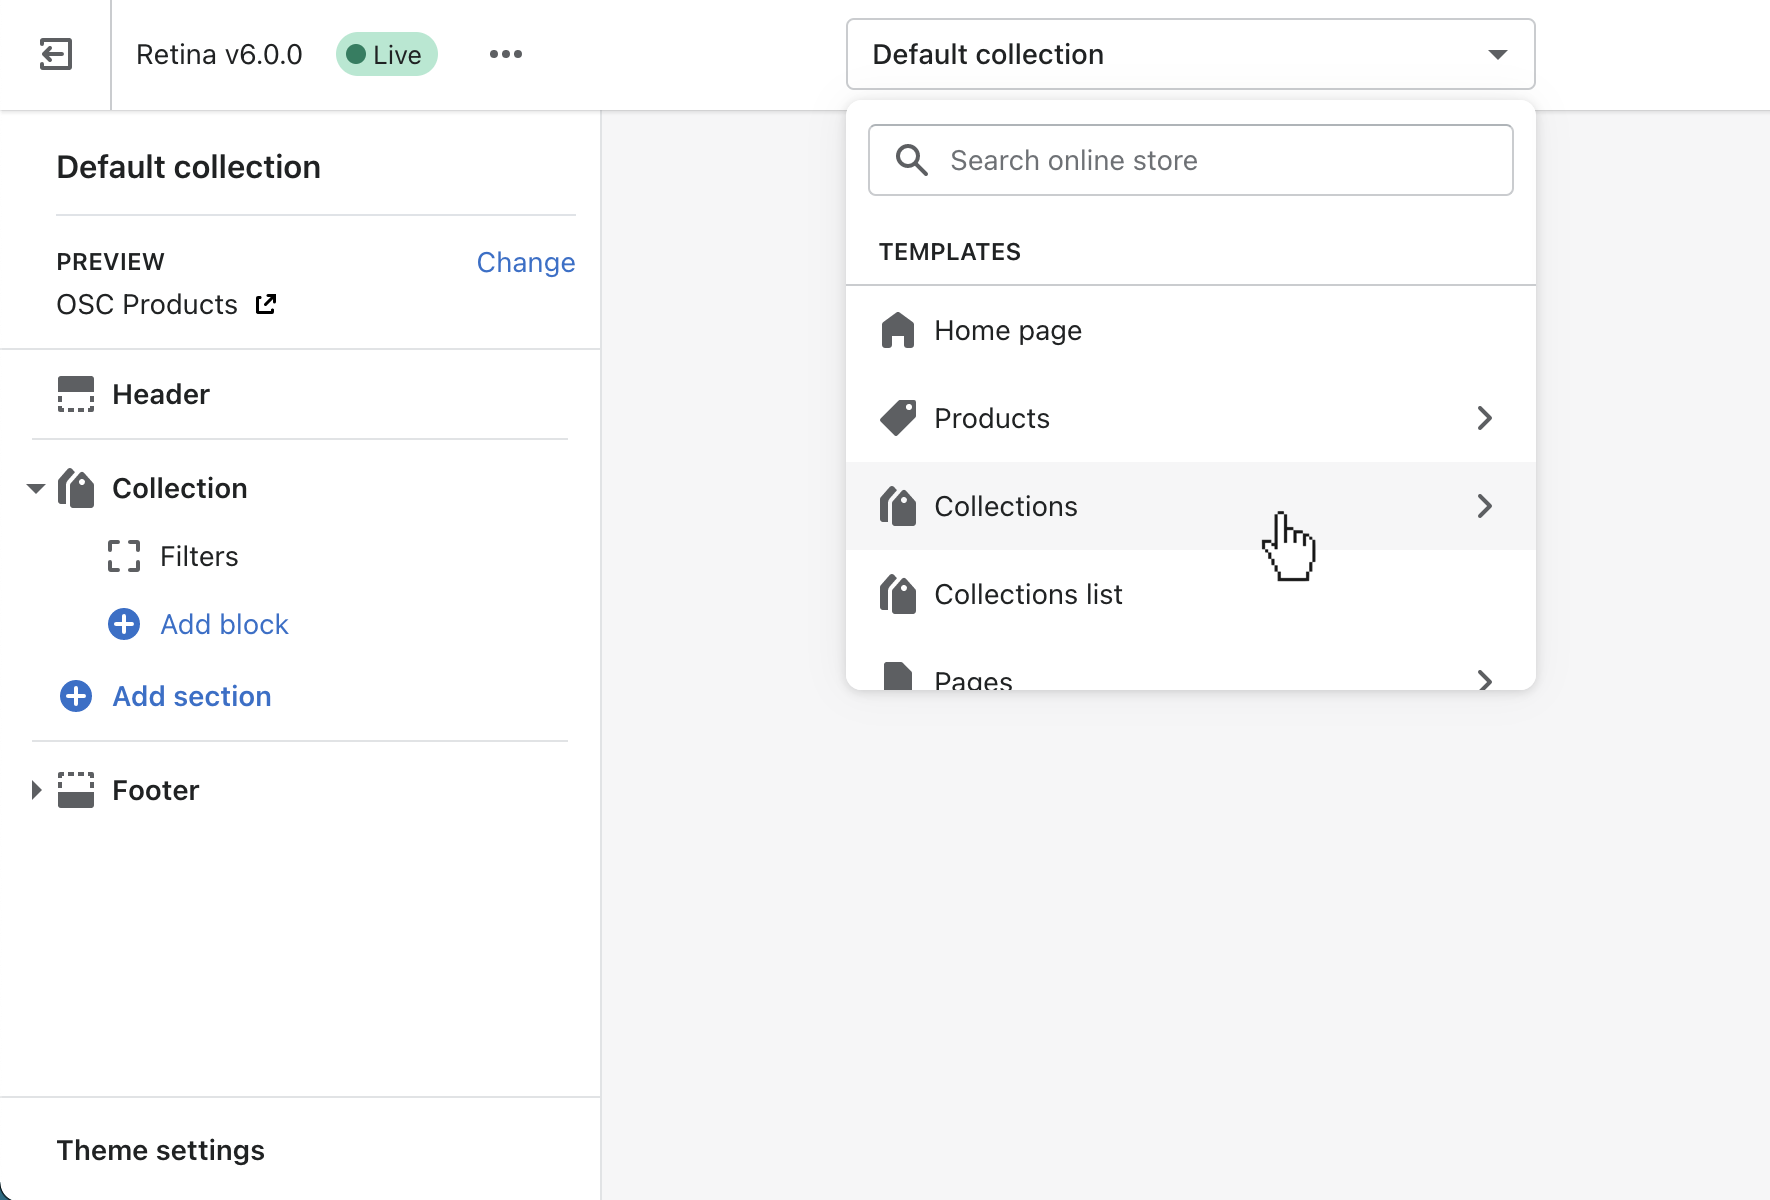
You can access and modify these templates through the theme editor’s page selector located at the center of the top bar. The customization settings are neatly organized in the left sidebar.
Default Product
The Default product template is what’s automatically applied to all your product pages. To access it, go to Products in your theme editor and select Default Product from the page selector.
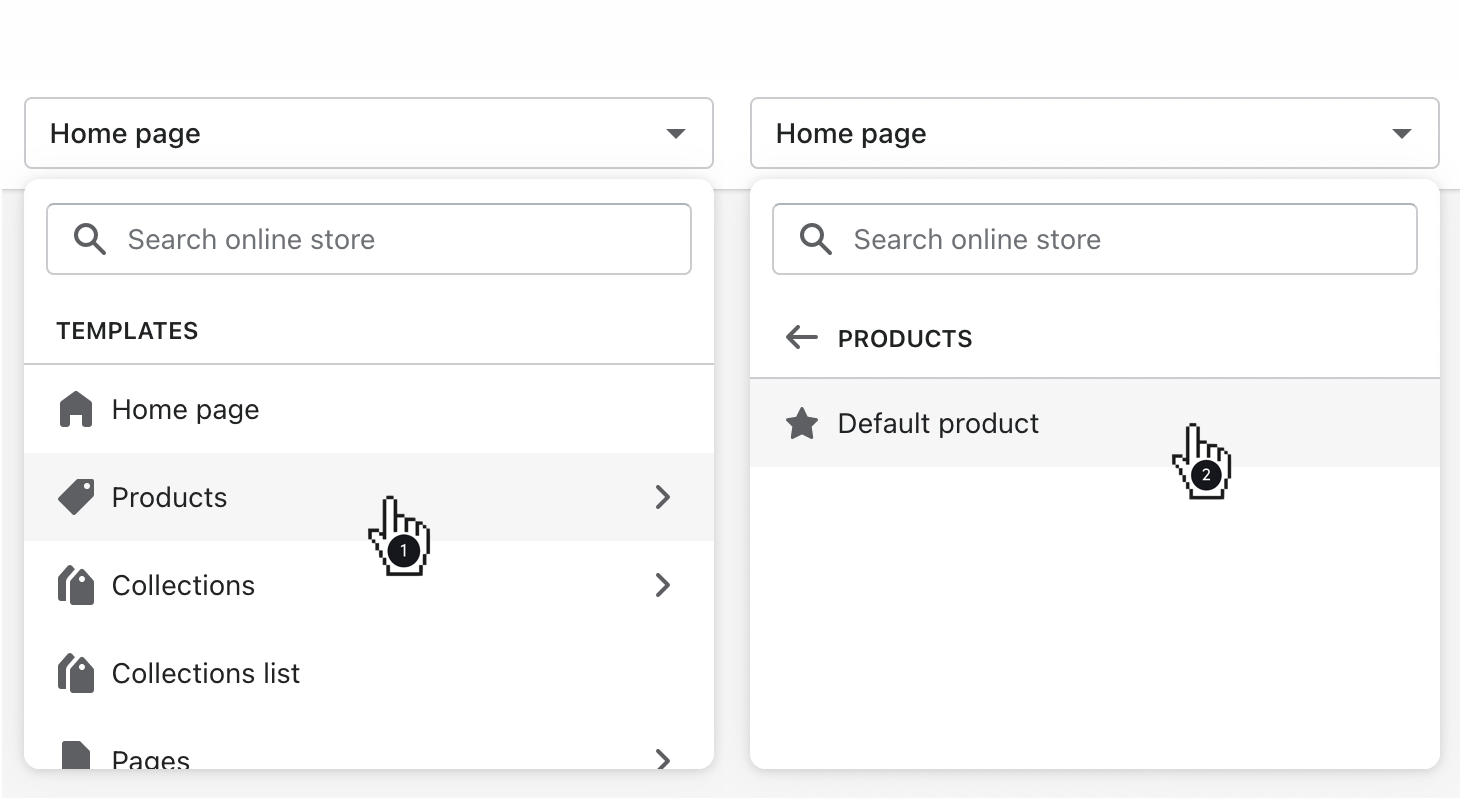
Anything you tweak in the left sidebar settings will apply across all products assigned to this default template. But if you want certain products to have unique layouts or features, it’s time to create a new product template.
Default Collection
Similarly, the Default collection template governs all your collection pages by default. You can find it under Collections in the theme editor.
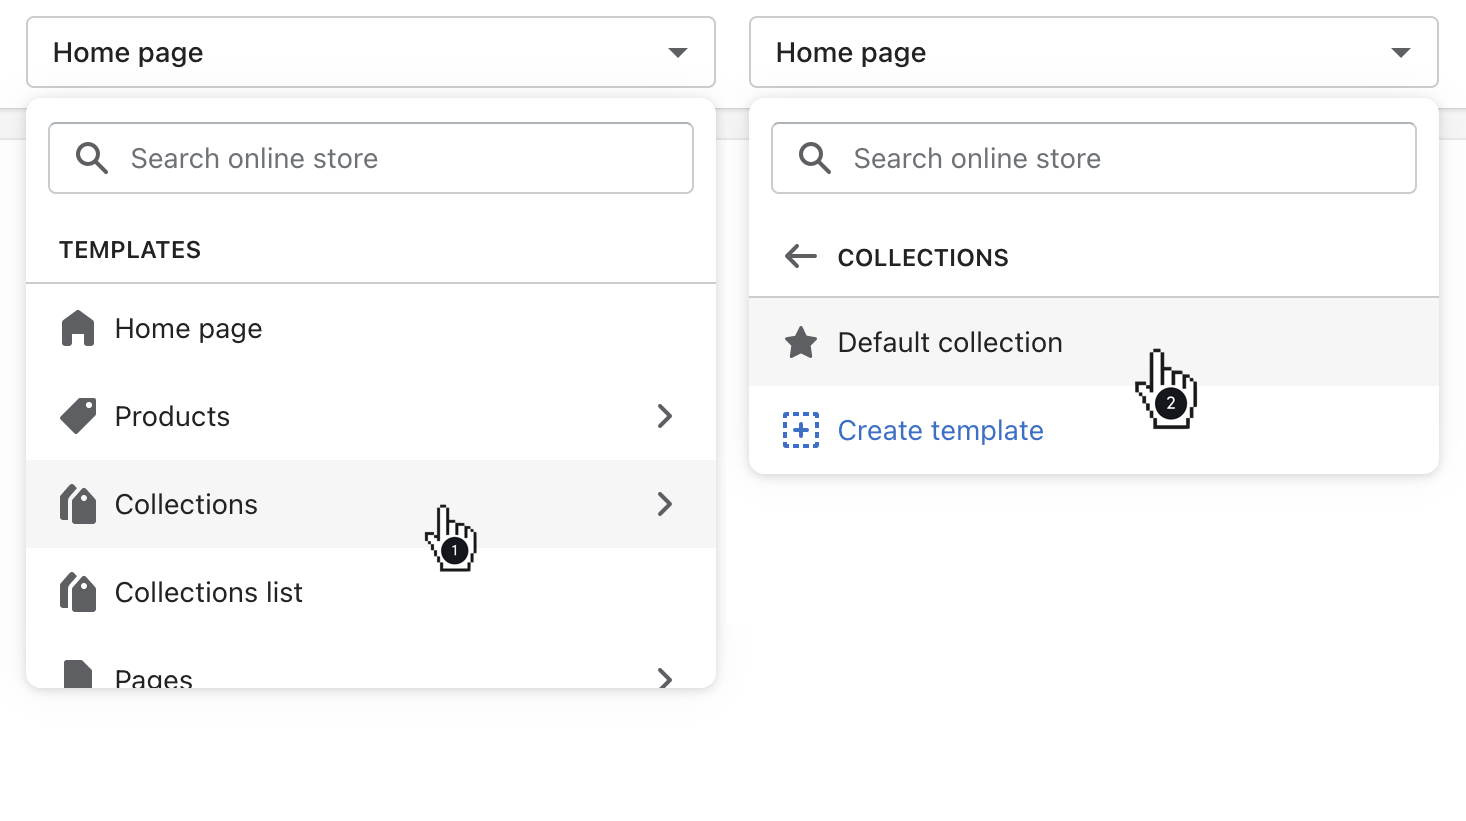
Adjust the settings in the left sidebar to apply changes universally across all collections using this template. Yet, for those special collections needing a different look or feel, you’ll want to craft a new collection template.
Default Page
Your static pages, like About Us or Contact, follow the Default page template by default. Head to Pages in the theme editor to access this template and make changes in the left sidebar.
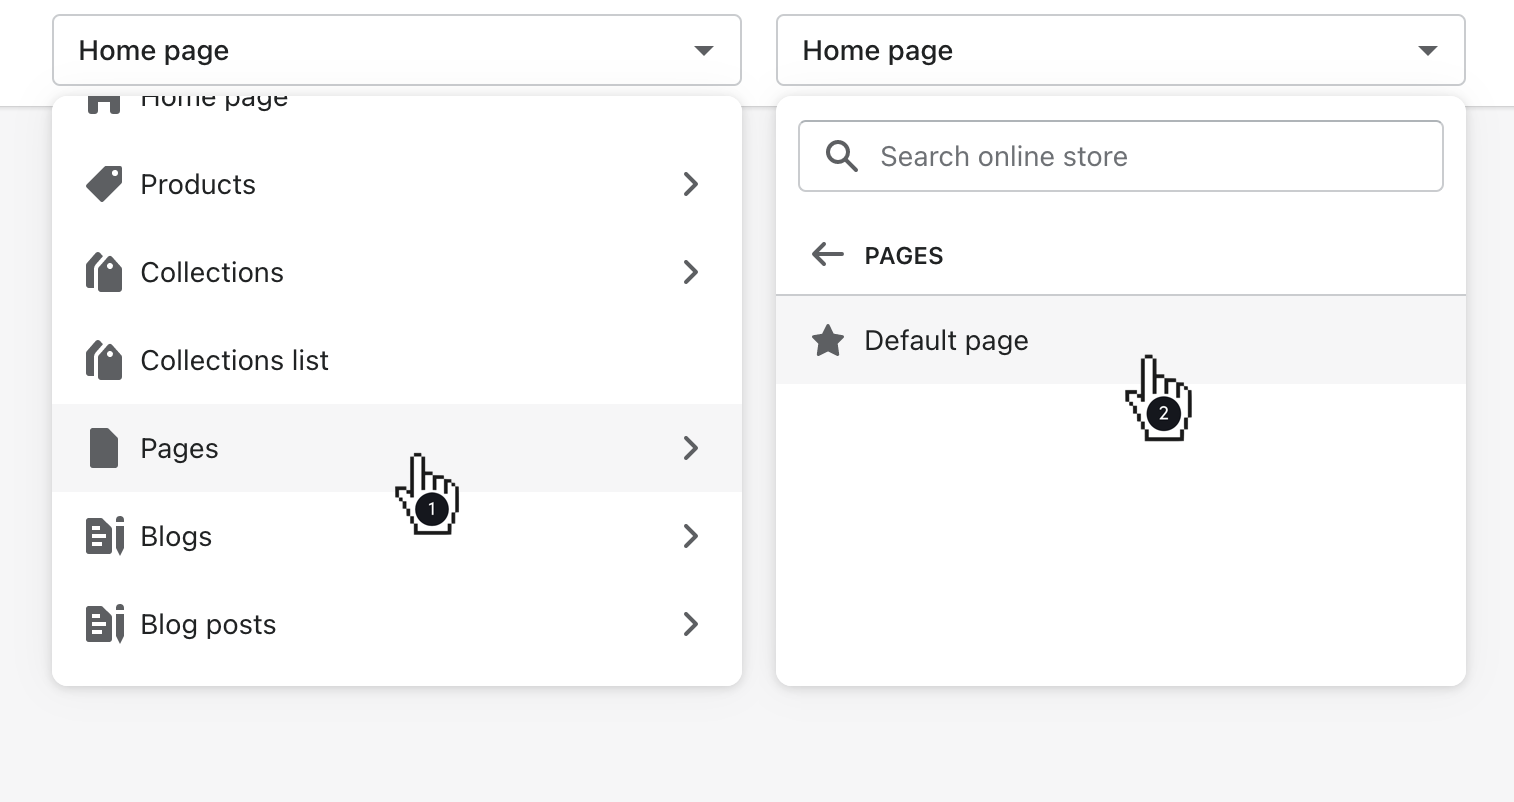
But for pages that need a distinct layout or content structure, you’ll create a new page template.
Default Blog Category
For your blog pages, the Default blog template is in charge. Find it under Blogs in the theme editor and tweak the settings in the left sidebar accordingly.
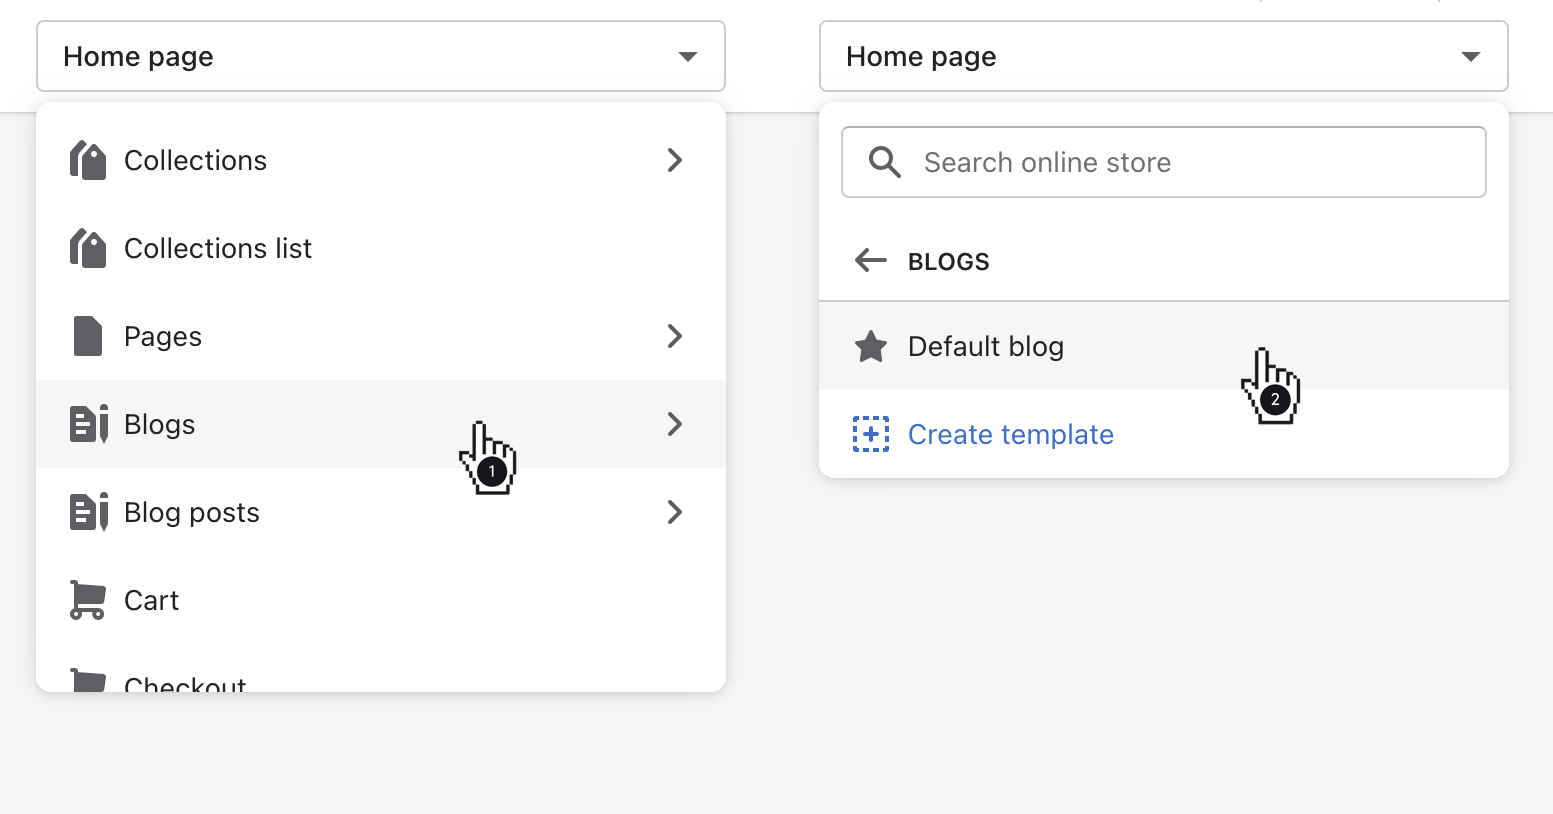
Should certain blogs require a different layout or style, it’s time for a new blog template.
Default Blog Post
Lastly, the Default blog post template controls the layout of all your blog posts. Locate it under Blog posts in the theme editor and make adjustments using the left sidebar.
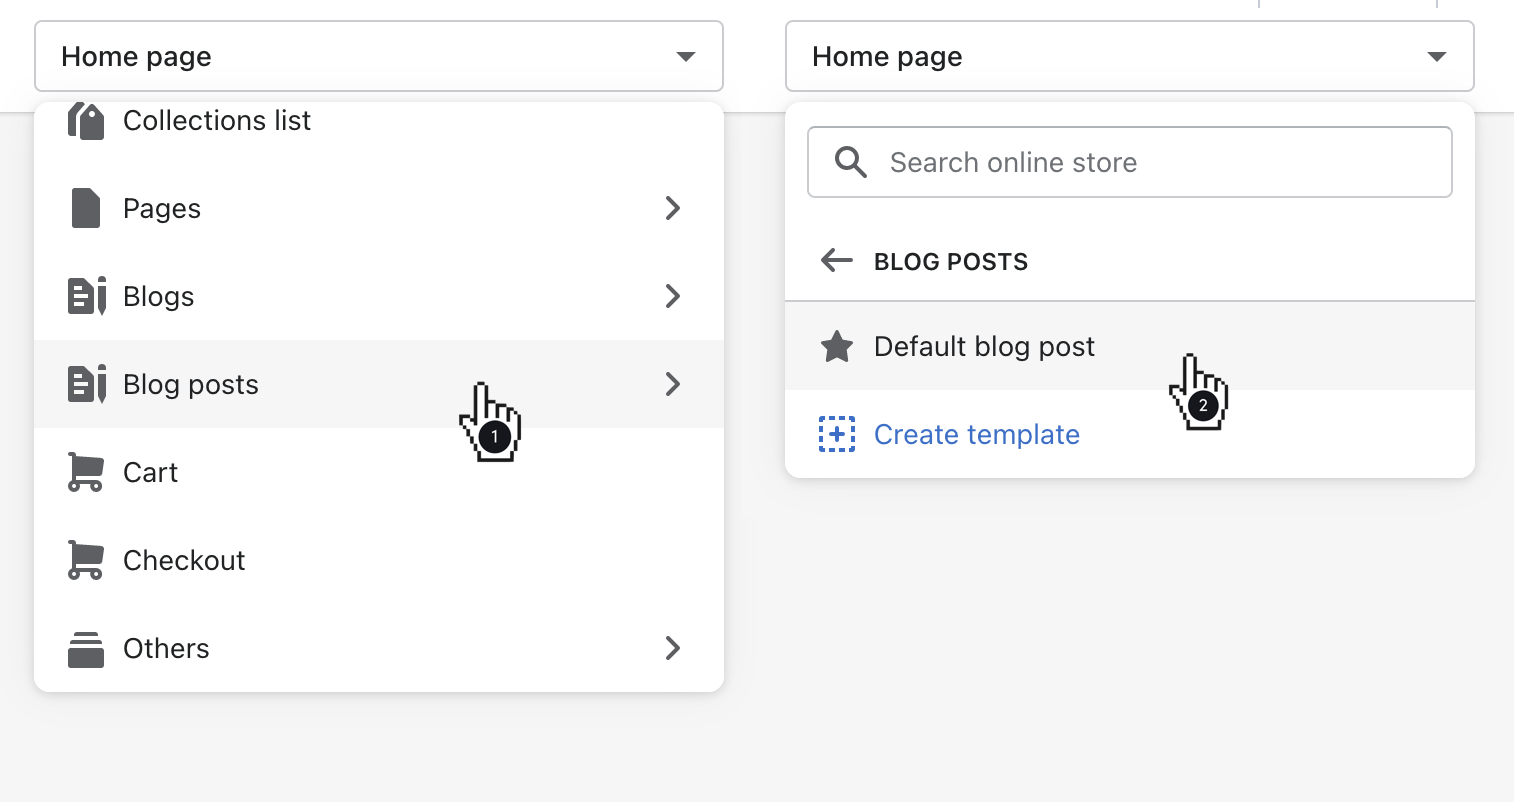
If specific blog posts demand unique formatting or features, you’ll be creating a new blog post template.
How to Create & Customize New Template?
Sometimes, you’ll want to differentiate certain pages or sections of your store from the rest. That’s where creating alternate templates comes in handy.
New Product Template
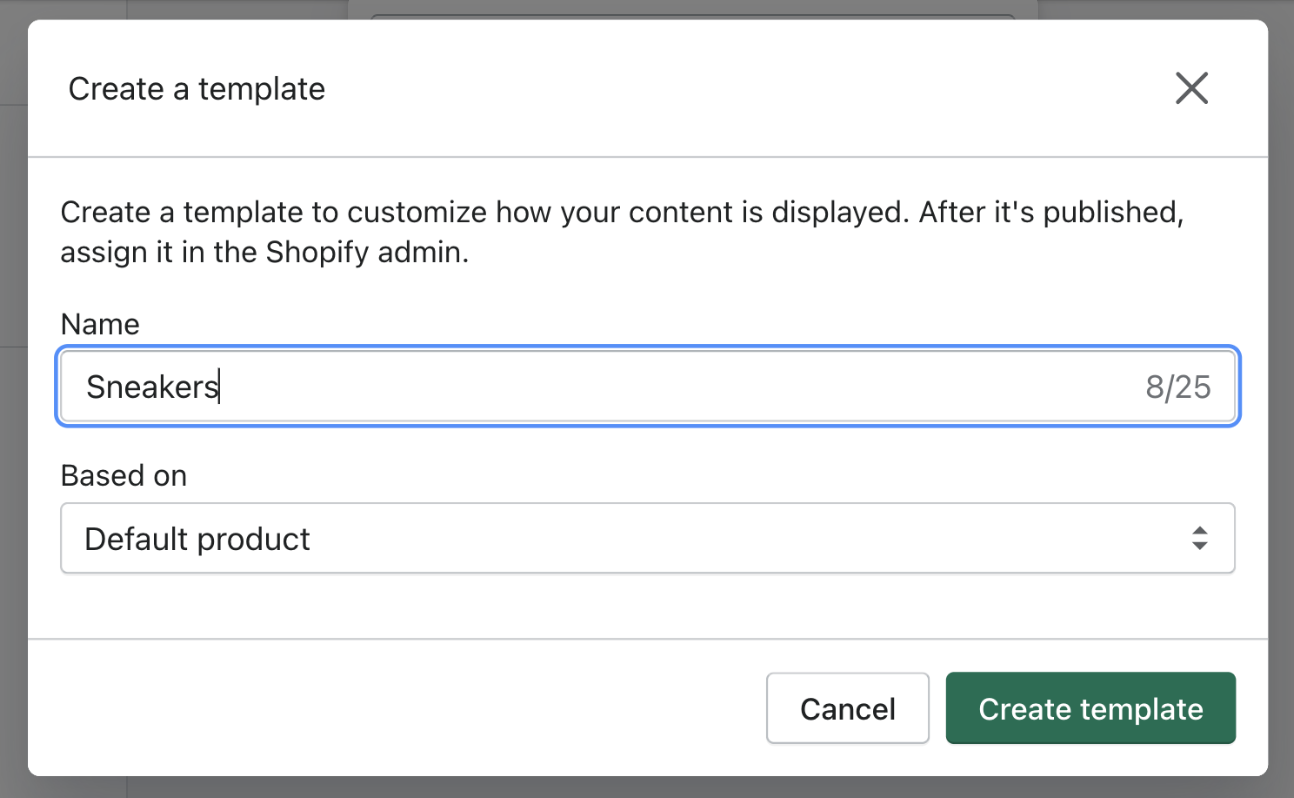
To start fresh with a product page, select Products, then hit the [+] Create template button in the page selector. Label your new template in the modal that pops up, ensuring it’s based on the Default product template. Once created, customize it using the left sidebar and assign products to this new template in your Products admin.
New Collection Template
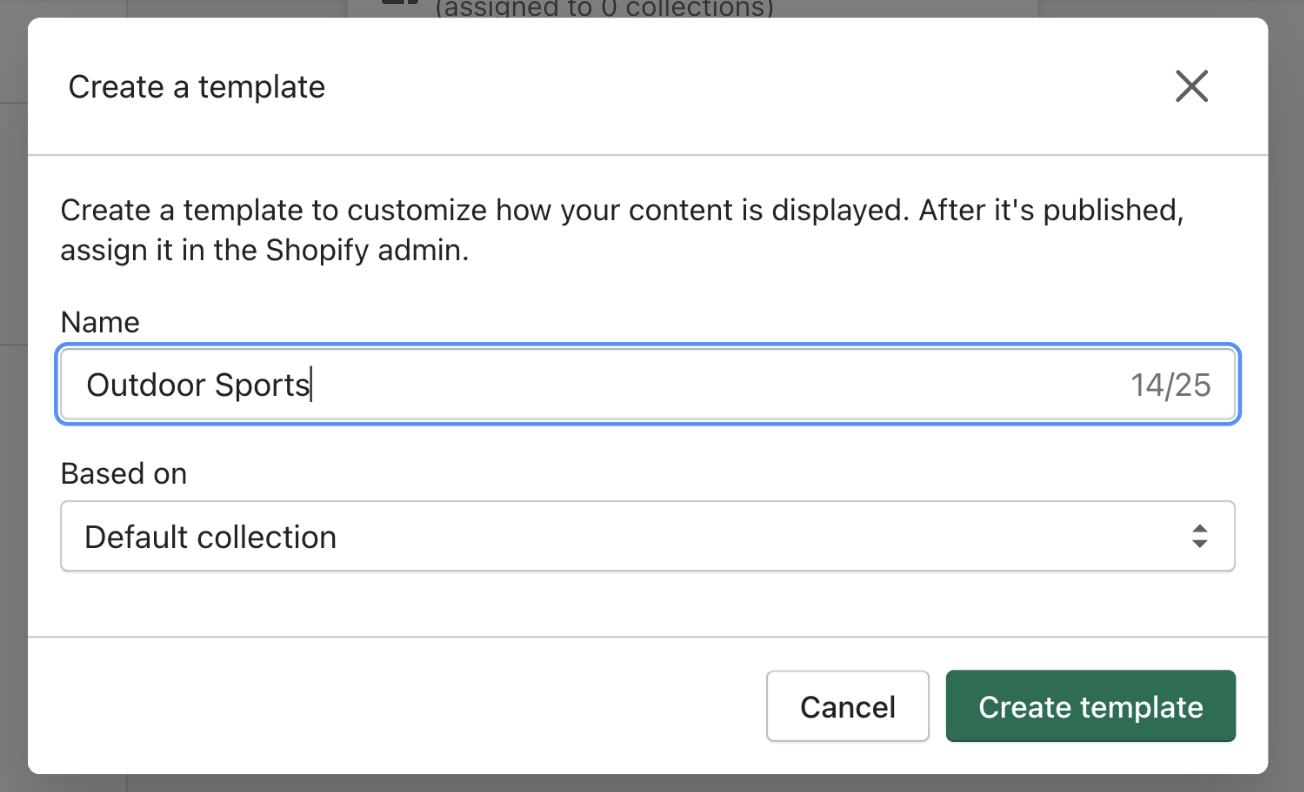
Repeat the process for collection pages. Select Collections, then create a new template based on the Default collection template. Customize it as needed and assign collections to this new template in your Collections admin.
New Page Template
For static pages, select Pages, create a new template based on the Default page template, customize it, and assign pages to it in your Pages admin.
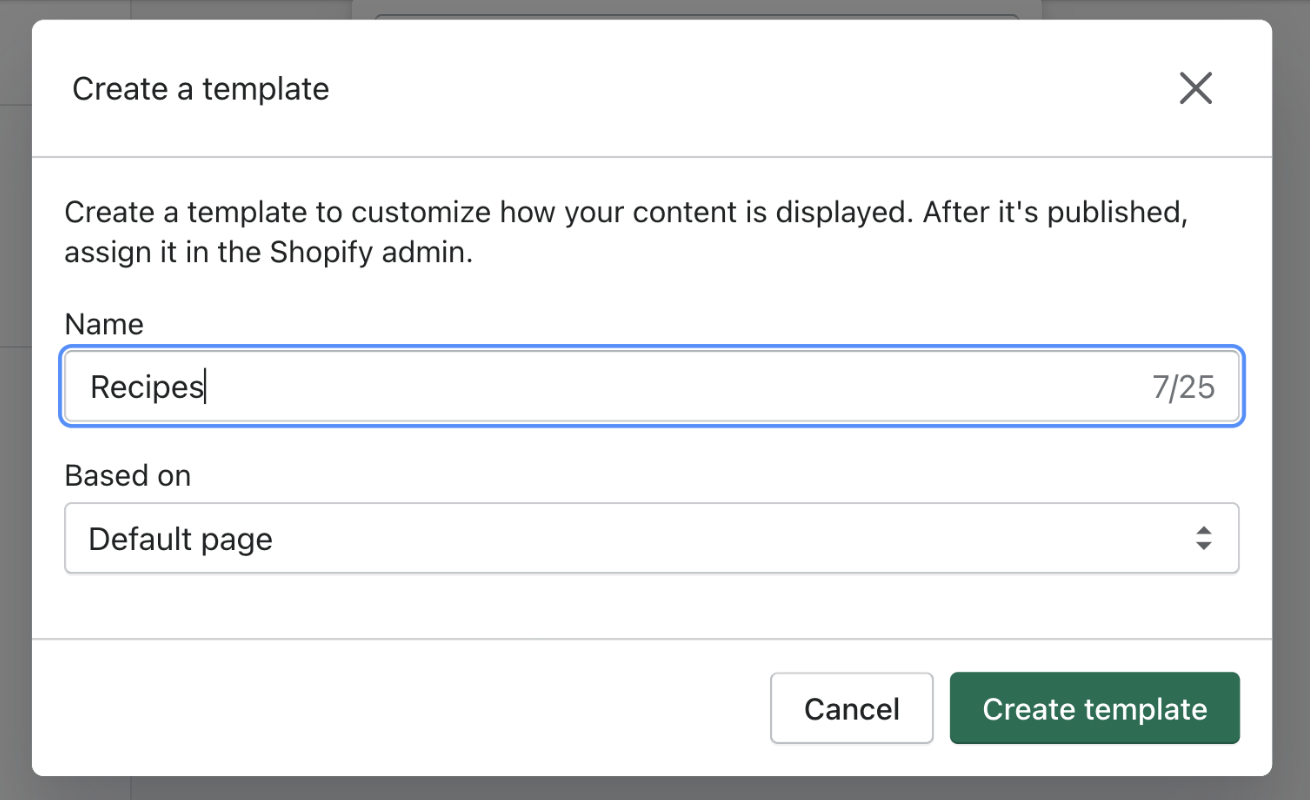
New Blog Template
To revamp your blog index page, select Blogs, create a new template based on the Default blog template, customize it, and assign blogs to it in your Blog posts admin.
New Blog Post Template
Lastly, for individual blog posts, select Blog posts, create a new template based on the Default blog post template, customize it, and assign blog posts to it in your Blog posts admin.
Create Additional Templates on the Homepage (Example)
Making the Shopify Homepage captivating is important for engaging visitors and driving conversions. With the Out of the Sandbox Theme Editor, you can feature up to 20 dynamic sections on your homepage, each tailored to showcase your products, promotions, and brand story.
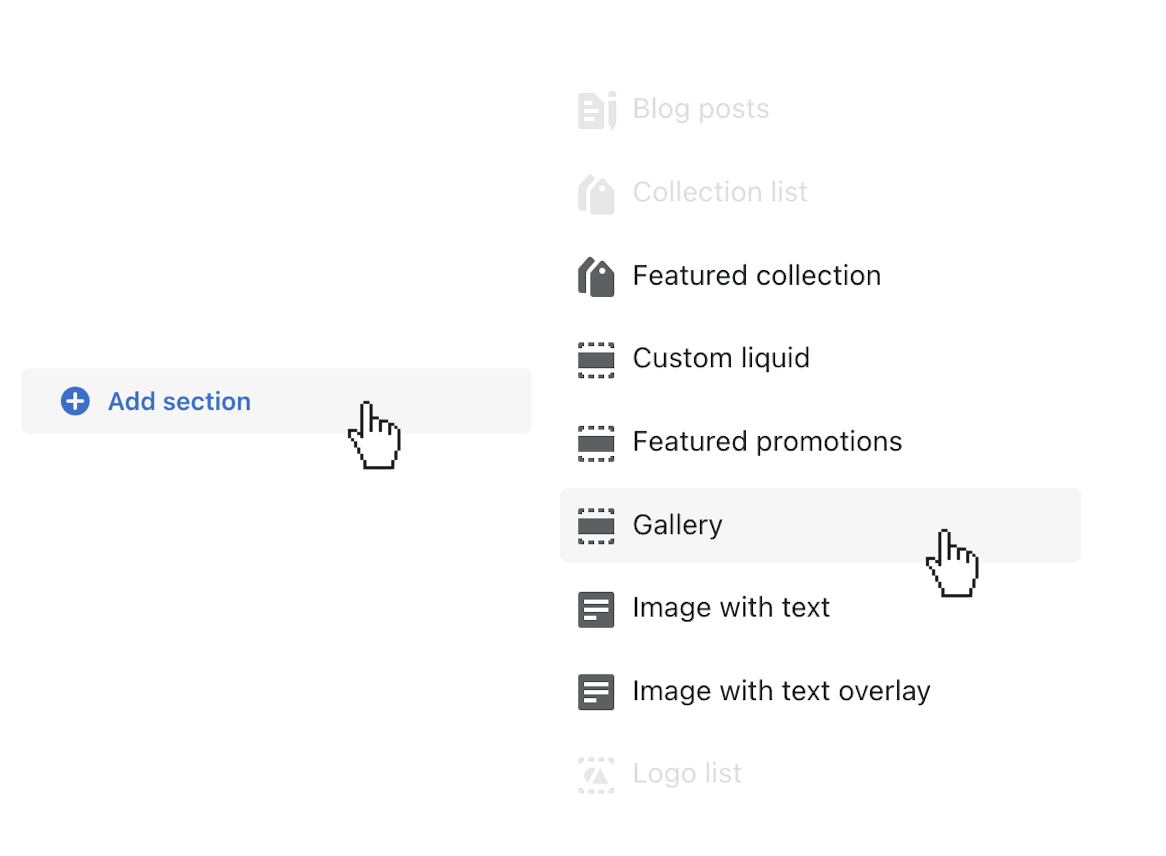
- In the left sidebar of the theme editor, navigate to the “Customize” section. Find the (+) Add section button to enhance your homepage’s layout and functionality.
- Upon clicking the (+) Add section button, you’ll be presented with a selection of available sections to choose from. Whether you’re looking to highlight featured products, promote a sale, or share customer testimonials, there’s a section to suit your needs.
- With themes featuring numerous sections, finding the perfect one for your homepage can be confusing. That’s where the search field comes in handy. Type in the name of the section you’re looking for, and the editor will narrow down the options, making it easier to find what you need.
- If you’re looking for additional options, click “Show more” to reveal the full range of sections available to you.

Leave a Reply