How to Embed ConvertBox on Your Website Pages? (Detailed Guide)
Embedding a form or a button built on a third-party application requires some integration. However, businesses still choose them because they can build better-looking targeted onsite messages, provide easy integration, and help users make data-driven decisions with insightful stats. This article is for new ConvertBox users looking to embed ConvertBox into their website pages.
You can land a customer through a series of ConvertBox pop-ups, forms, and buttons embedded in your website.
Embeding ConvertBox onto Pages
Embedding ConvertBox on your website is a straightforward & simple process. You need to set triggers, design the content, establish targeting rules, and generate an integration code to seamlessly add it to your website. Below are the detailed steps to guide you through the entire process. Regularly review and adjust based on analytics to continually enhance its effectiveness in engaging and converting website visitors. Check more details about ConvertBox here.
Select The Type of ConvertBox
There are two types of ConvertBox – Overlay and Embedded.
Where Overlay allows you to build pop-ups and slide-ins appearing on the website after a certain action from the user, Embedded ConvertBox is static and stays forever on your web page. Read our detailed ConvertBox review to learn more about Overlay and Embedded ConvertBox.
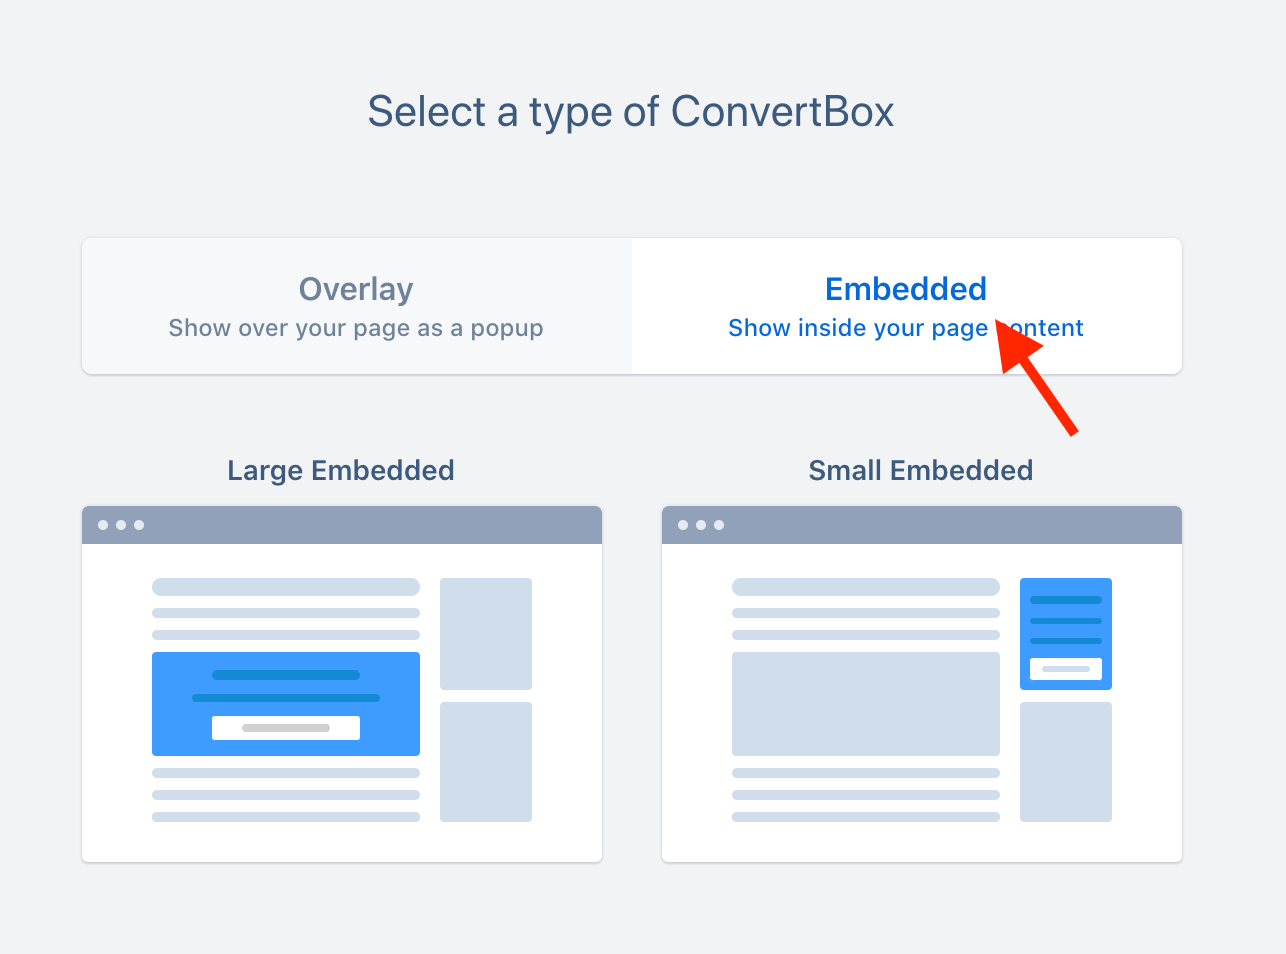
There are 2 options to create an Embedded ConvertBox – Small and Large.
If your goal is to collect newsletter subscribers, go with the small ones. You can easily embed Small ConvertBox in the sidebars and footers of your website.
If you want your ConvertBox to collect business inquiries, we recommend large ones for better visibility. Place it on your homepage or the end of any landing page.
Select A Template to Optimize
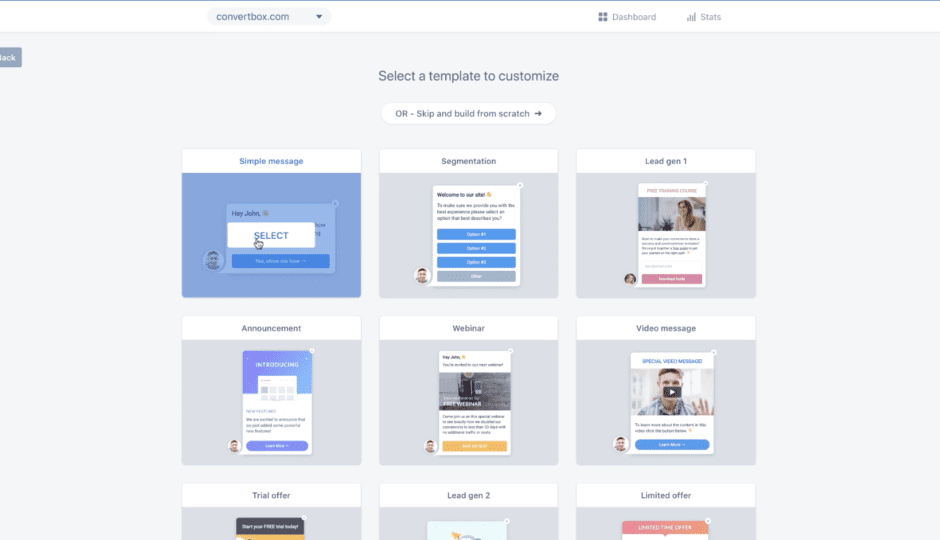
Once you’ve chosen a ConvertBox type, you’ll be presented with a range of templates crafted in their editor. These templates serve as initial designs, fully customizable to suit your needs. Opt for the one that aligns closely with your vision and effortlessly tailor it in their editor.
Alternatively, you can begin from scratch and build upon a blank template if you prefer a more personalized approach.
Customize ConvertBox Dimensions
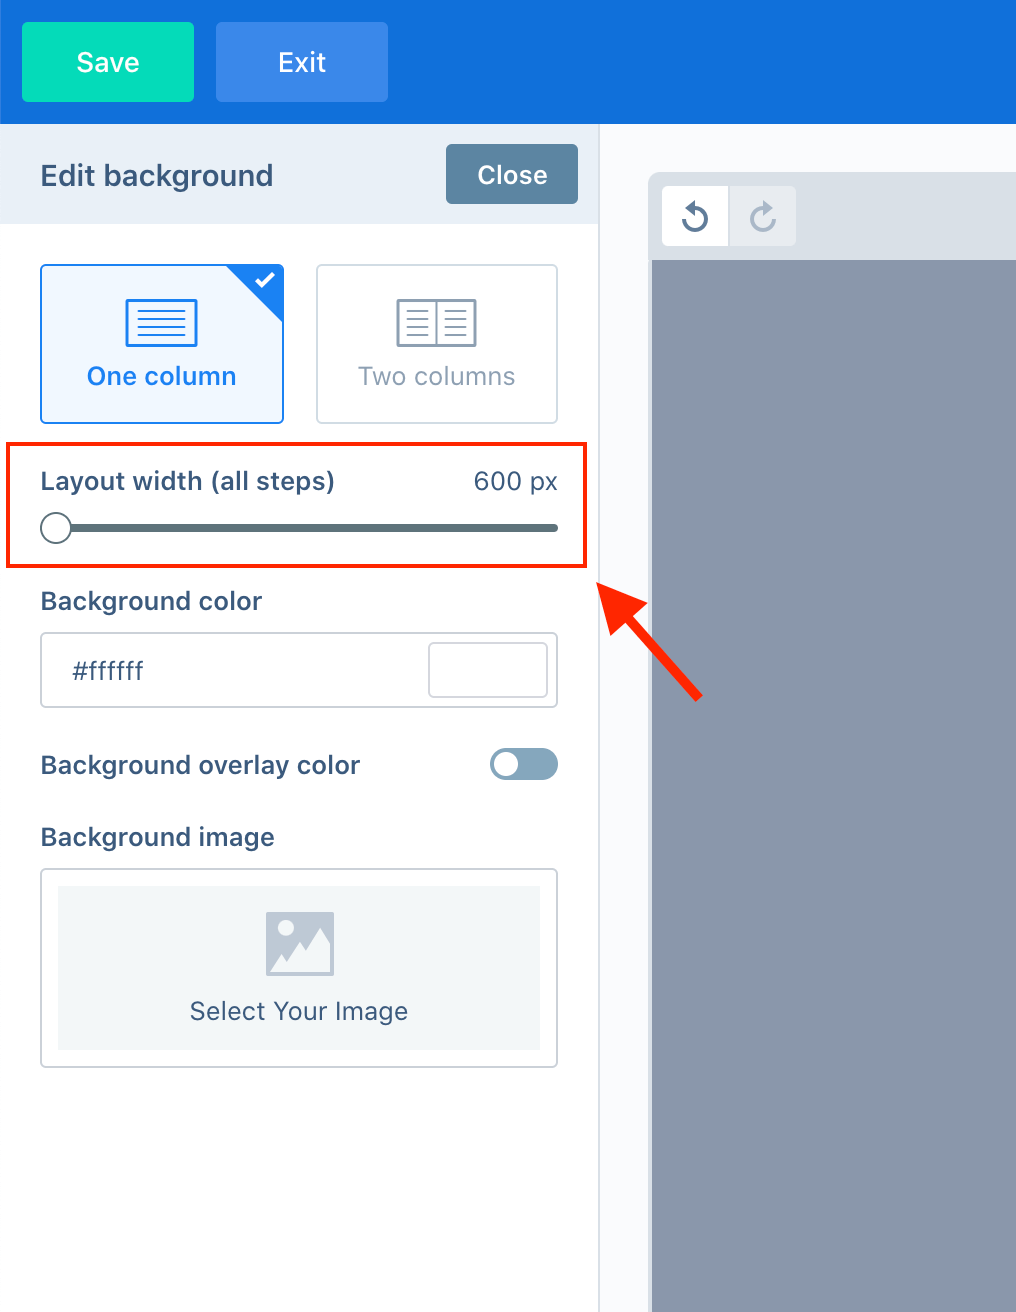
Not every website has the same page width and design style. ConvertBox understands that and gives a unique feature, only for embedded ConvertBox, to change the width of the layout.
By default, ConvertBox takes the width of the embedded area. By selecting the background element, you can edit the width.
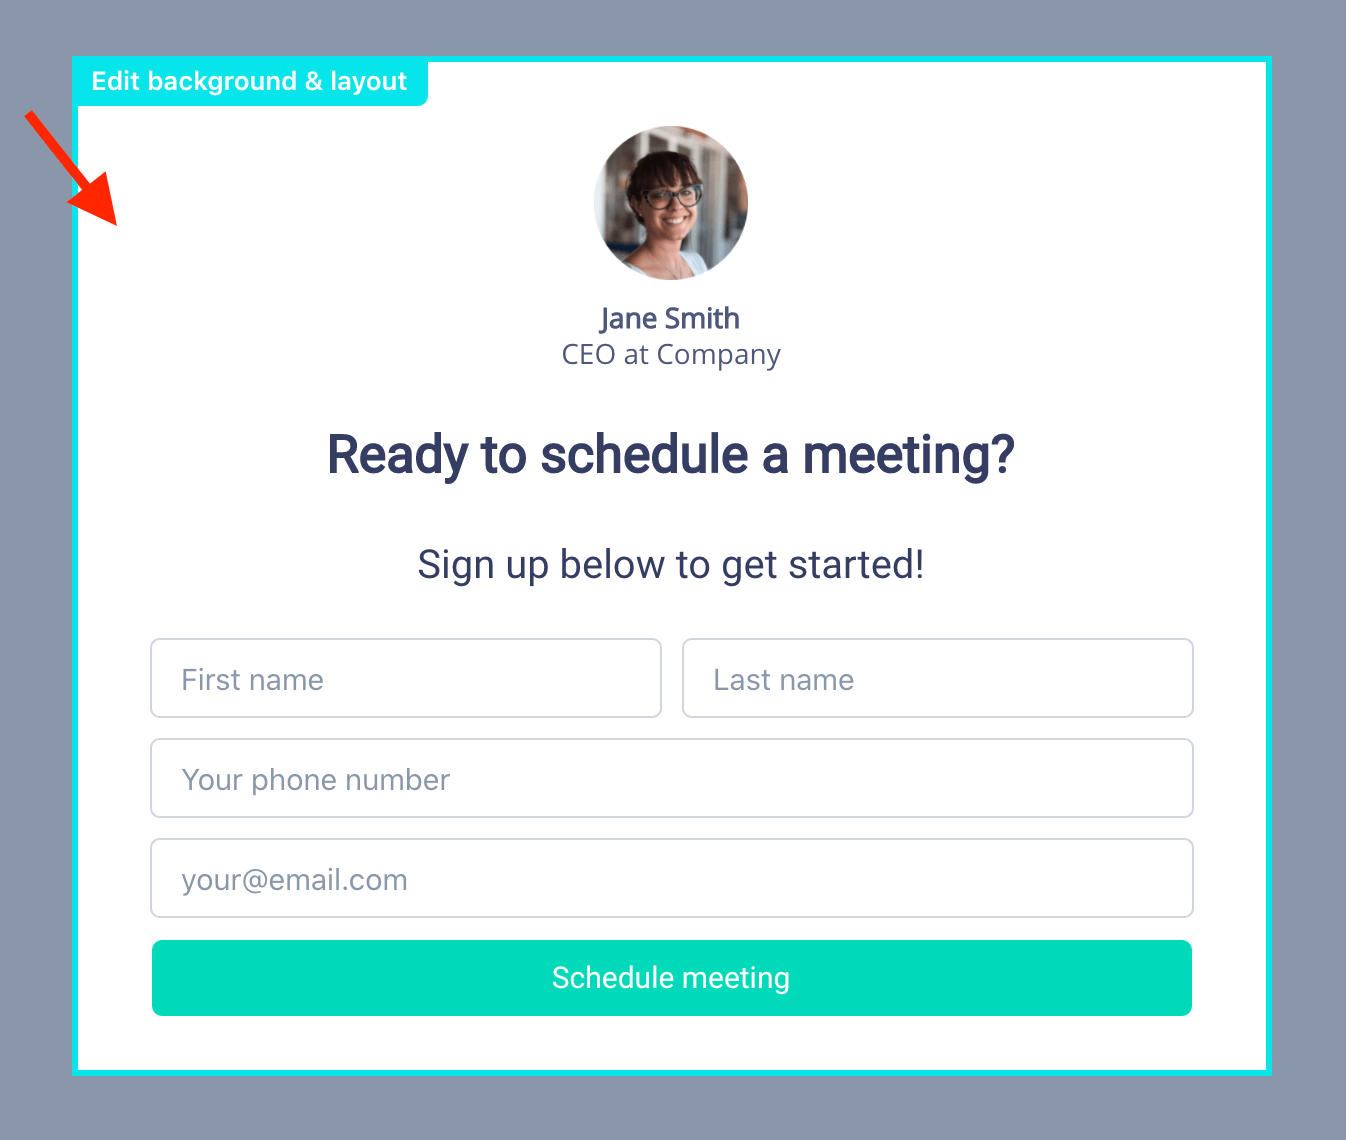
After applying the desired width on your embedded ConvertBox, move on to the next step and go to the display tab.
Select The Area to Embed
Imagine your website is like a canvas, and you want to place different ConvertBoxes (like forms or widgets) in specific areas. In the past, you might get one code for each form, but with ConvertBox, each area gets its own unique code.
So, if you have a spot at the bottom of your blog, you create an “embed area” for it and get a special code for that specific spot. Now, here’s the cool part: this code is dynamic. It means you can show different ConvertBoxes in that same spot based on certain rules.
For example, let’s say you have people at different stages of interest in your products. You can create various ConvertBoxes, each designed for a specific stage, and show them in that “Blog page at bottom” spot. This way, your website becomes smart, showing the right message to the right people at the right time. That’s the power of using dynamic embed codes with ConvertBox!
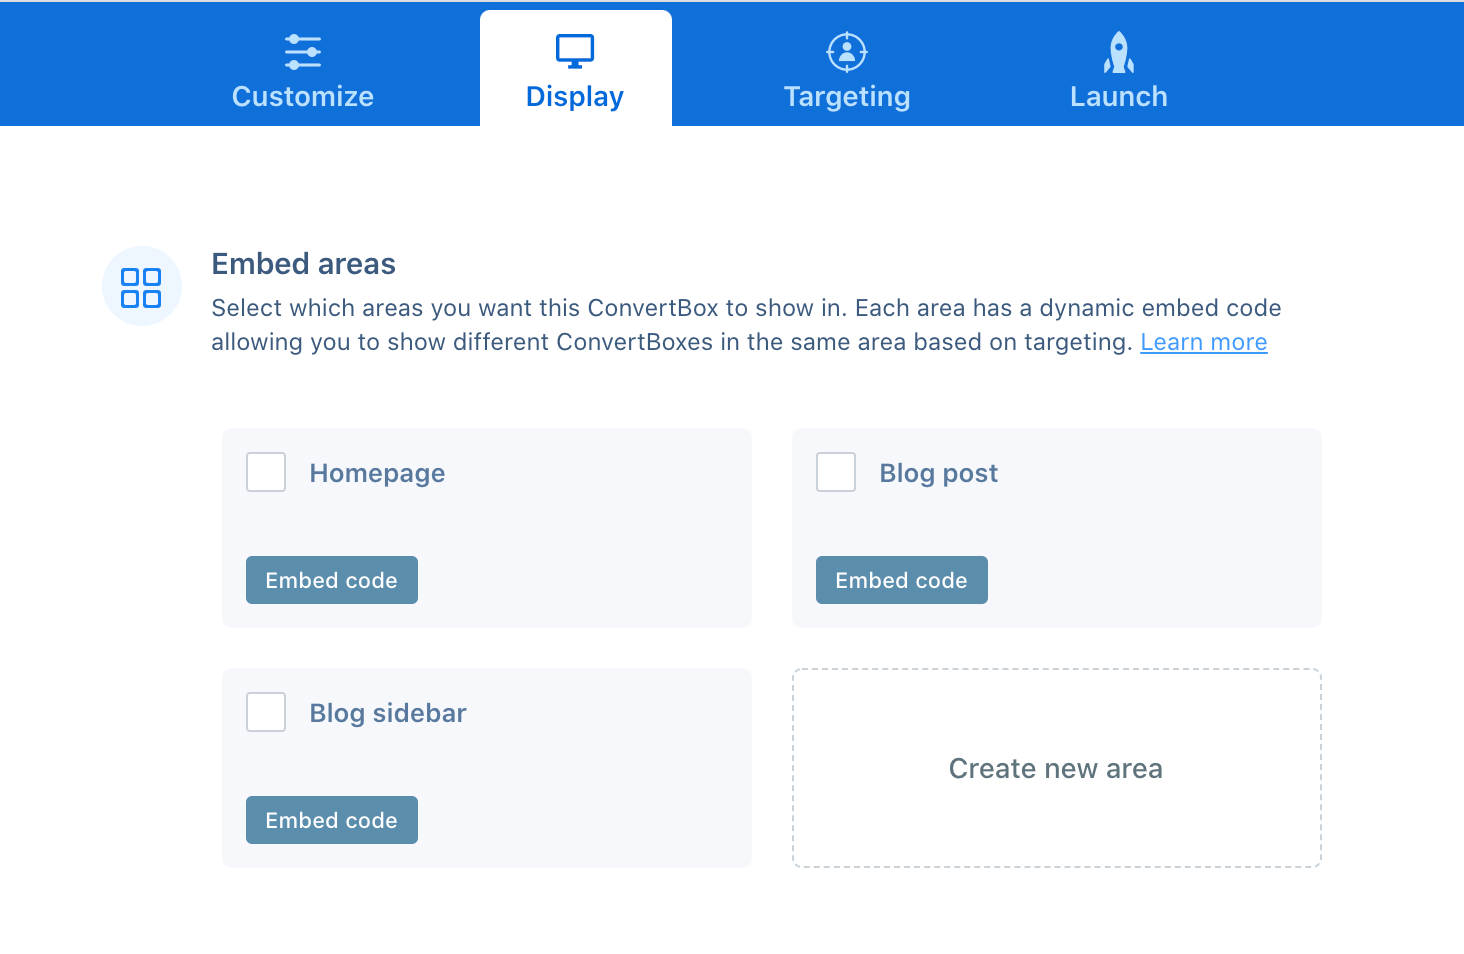
Let’s take an example of embedding ConvertBox into a blog post and click on the Embed Code button.
Check the blogpost option as shown below.
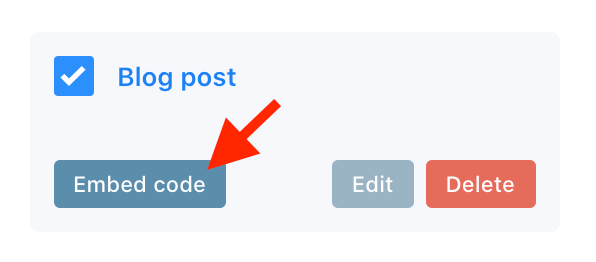
It will display the code which you can copy to embed ConvertBox into your web pages.
ConvertBox gives two types of embed codes for websites – HTML and WordPress shortcode.
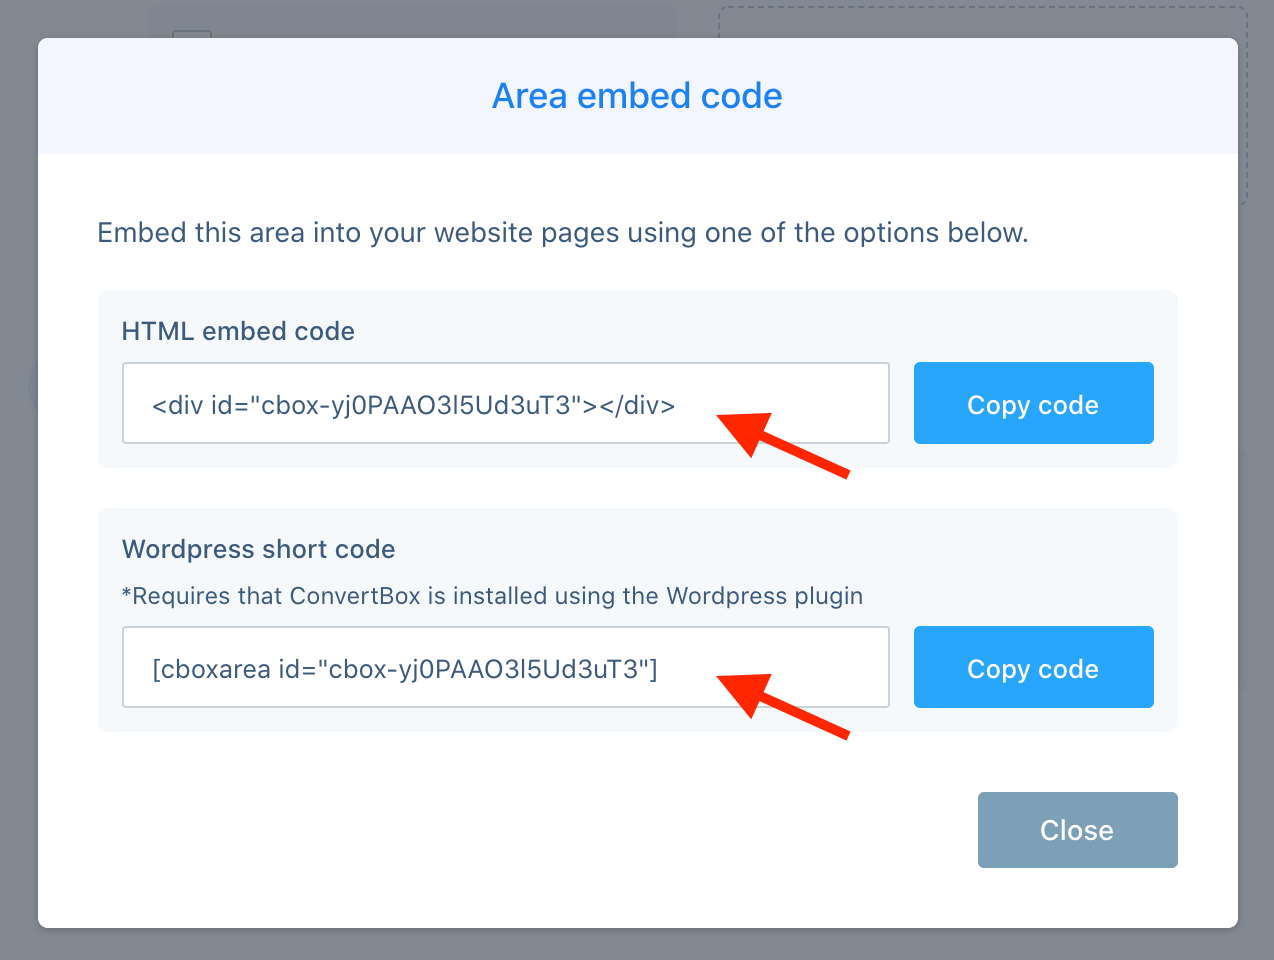
The HTML code is best for adding ConvertBox into the source code of any of your webpages.
The WordPress shortcode will work only if you’ve installed ConvertBox using the WordPress plugin. Find out how to install ConvertBox using the WordPress plugin in our latest guide.
Select Location to Publish Embedded ConvertBox
After acquiring the embed codes and setting up the embed areas, the next option is to set the location. This is where you decide where these ConvertBoxes will appear on your site.
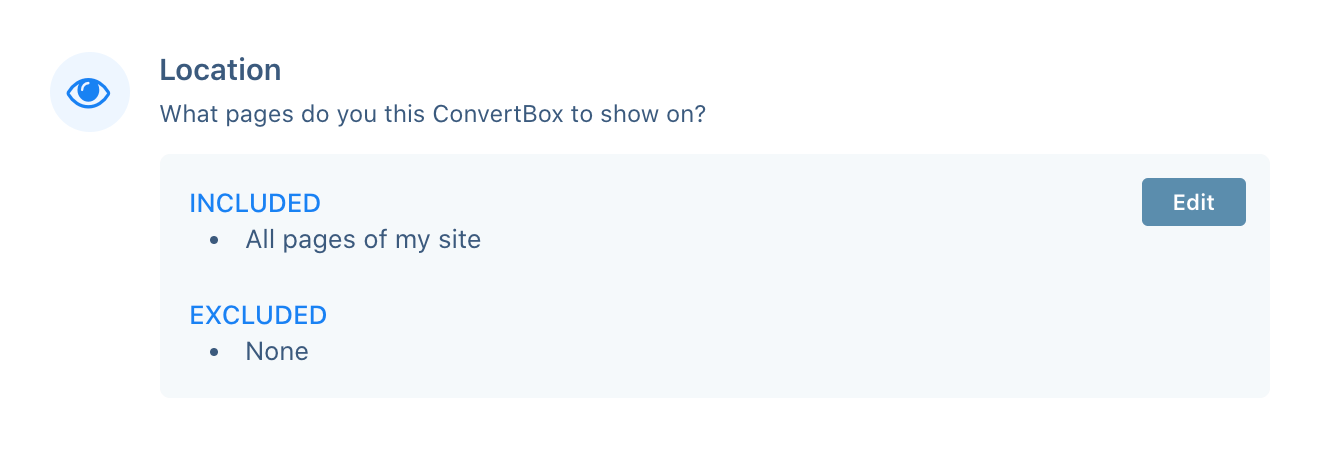
Sometimes, your ConvertBoxes might appear on many pages, like a footer that’s on every page or a sidebar on your blog. But if you want a ConvertBox to show up only on specific pages, like your “Contact Us” page or “Product Page,” you can use the “Location” section to set rules.
So, if you’re thinking, “I only want this ConvertBox to pop up when someone is looking at a particular page,” you’d use the rules in the “Location” section. If you’re okay with it showing up on every page, you can stick with the default option, which is “All pages of your site.” This way, you have the flexibility to decide exactly where your ConvertBoxes appear based on your site’s structure and your marketing strategy.
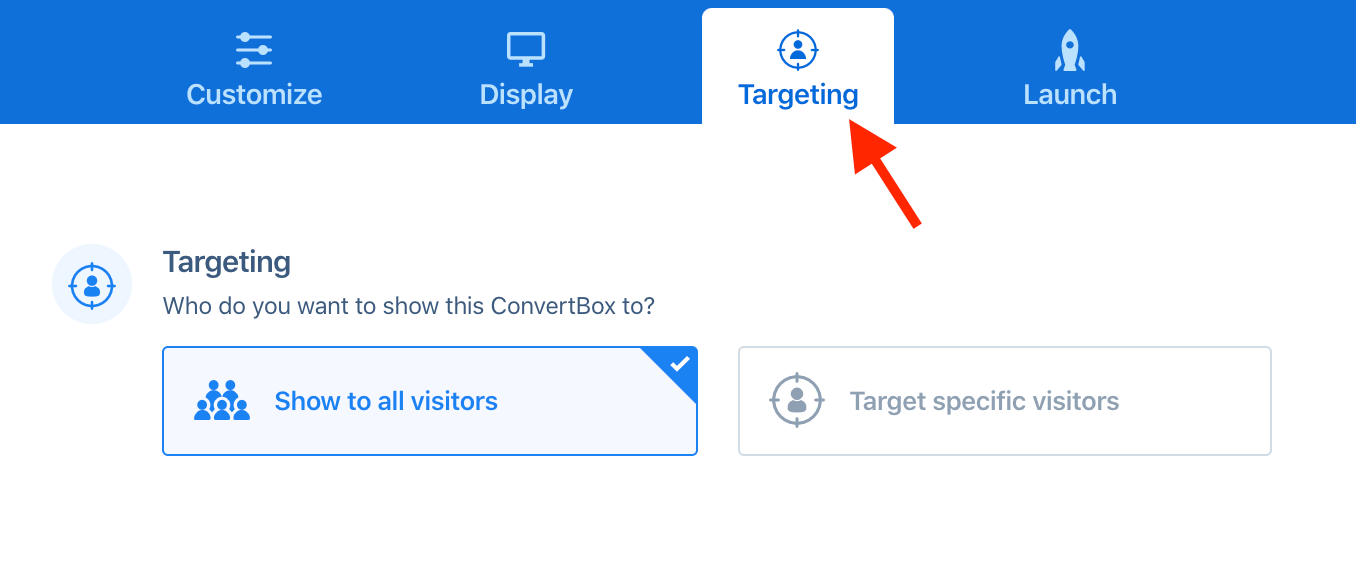
Setup Targeting For Specific Users
We’ve published a detailed guide on targeting specific users in ConvertBox. Do check it out to find out various conditions and rules to target specific visitors with custom ConvertBoxes.
Now, the last step is to revise your setup and launch. In the launch section, you can rename your ConvertBox, and activate it on your website immediately. If you’d rather keep it inactive for now, you can activate it later either here or directly from the dashboard.
We have a detailed guide on how to integrate ConvertBox with more than 20 other tools to enhance your marketing activities.
Benefits of Embedding ConvertBox onto Your Website Page
- Optimized User Engagement: The strategic placement of ConvertBox on specific pages allows you to engage users contextually, providing relevant information or offers based on their interaction with your content.
- Increased Lead Capture: By embedding ConvertBox at strategic points, you capture leads effectively, turning website visitors into potential customers through targeted messages and calls to action.
- Personalization and Targeting: Embed areas and dynamic codes enable personalized targeting. You can display different ConvertBoxes on the same spot, tailoring messages to specific audience segments or stages of the customer journey.
- Efficient Use of Website Space: Embedding allows you to utilize specific areas of your website effectively, preventing clutter and ensuring that ConvertBox adds value without compromising user experience.
- Data-Driven Decision Making: The analytics and insights provided by ConvertBox help you make data-driven decisions, allowing continuous optimization for better performance.
FAQs
Can I show different ConvertBoxes in the same spot on my website?
Yes, dynamic embed codes enable you to display different ConvertBoxes in the same embedded area. These are based on specific rules, providing a personalized experience for different audience segments.
Where are the best spots to embed ConvertBox for maximum impact?
Ideal spots include exit-intent pop-ups, bottom-of-page CTAs, or strategically within content. Choose locations where user engagement is high to optimize lead capture and conversion rates.
Can I customize the design of embedded ConvertBoxes to match my website’s look and feel?
Absolutely! ConvertBox offers customization options, allowing you to tailor the design, colors, and content to align with your website’s aesthetic.
Can I deactivate or activate embedded ConvertBoxes easily?
Yes, you have the flexibility to activate or deactivate ConvertBoxes either directly from the launch tab or the dashboard, providing convenient control over their visibility.

Leave a Reply