How to Connect WPForms and Sendinblue with Your WP Site?
Email marketing is a golden tool that always remains effective. By upgrading your email marketing style, an average of 14.10% email click-to-open rate can be achieved. In this guide, we’ll show you how to connect WPForms and Sendinblue on WordPress to run better email campaigns.
Today, using robust WordPress plugins like WPForms and Sendinblue, you can effortlessly set high benchmarks with your email marketing campaigns. You can easily create a newsletter signup form with WPForms and connect it to your Sendinblue account to manage your email subscribers.
Sounds interesting, right? So, let me show you how to connect WPForms and Sendinblue in WordPress to empower your email marketing efforts?
What is Sendinblue?
Sendinblue is a comprehensive marketing platform used by over 180,000 businesses worldwide. This platform allows users to generate leads through email campaigns, marketing automation, landing page design, SMS marketing, and much more.
Sendinblue addon is available for WordPress users that can be used to unsubscribe users, track events, delete users, and subscribe users to the list.
With the Sendinblue email marketing feature, you can create a personalized campaign by:
- Creating a professional design with a vast email template library.
- Easily personalizing your emails with advanced customization options.
- Expanding your email marketing strategies by selecting smaller segments based on age, gender, purchase history, etc.
- Using in-built A/B testing powered with Machine Learning, which helps to optimize email send time.
How to Connect WPForms And Sendinblue?
Sendinblue has powerful email marketing features without any doubt. However, when WPForms’s smart conditional logic, trusted by over 4 million users, is combined with Sendinblue, you can redefine email marketing.
You can use Sendinblue addon on different WordPress forms such as newsletter subscription forms, contact forms, request a quote form, and others. Within three basic steps, you can give multiple opportunities to your visitors to subscribe to your newsletters.
Note: If you are looking to purchase WPForms pro plans, do check out our wpforms coupon codes that can get amazing discounts!
Install WPForms & Sendinblue Addon
- WPForms is the best form builder plugin. Before getting started, ensure that WPForms is installed and activated on your website. Once your WPForms license is confirmed, install the Sendinblue addon.
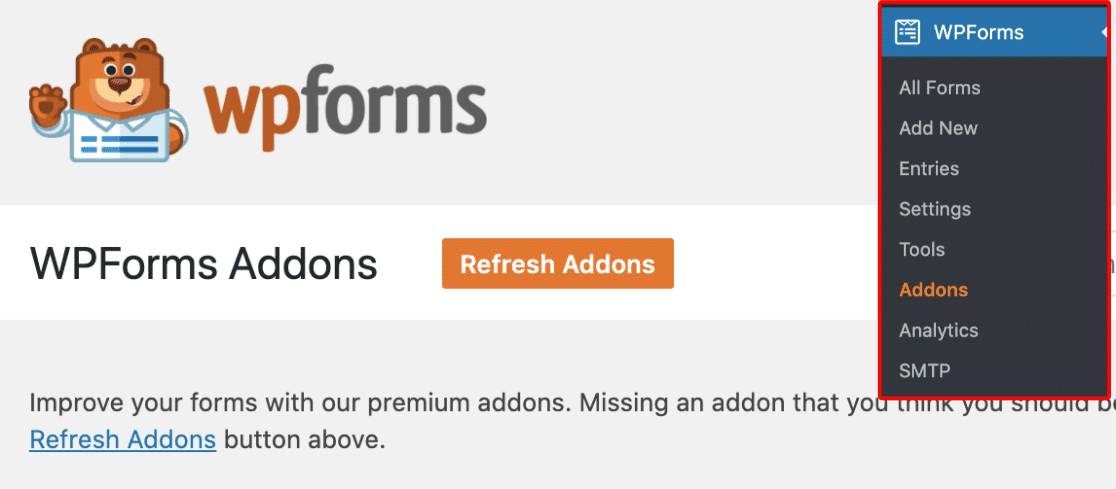
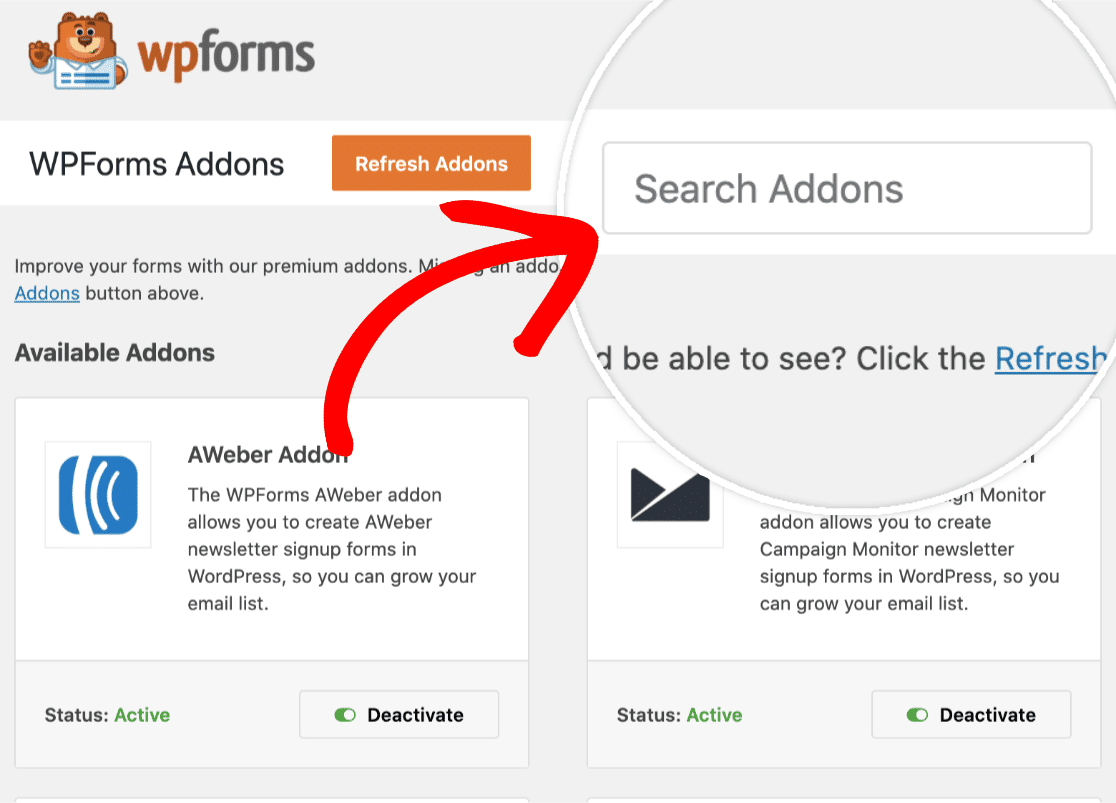
- Navigate to WPForms > Addons and check if the Sendinblue addon is available with your license level. You can search for a specific addon by typing into the Search Addon field. Once you locate the Sendinblue addon, install and activate it.
- Sendinblue is a free tool. But you can upgrade to the Lite version for $25 and Premium version for $65 per month.
Connect WPForms & Sendinblue Account
- Navigate to WPForms > Settings and click on the Integration tab.
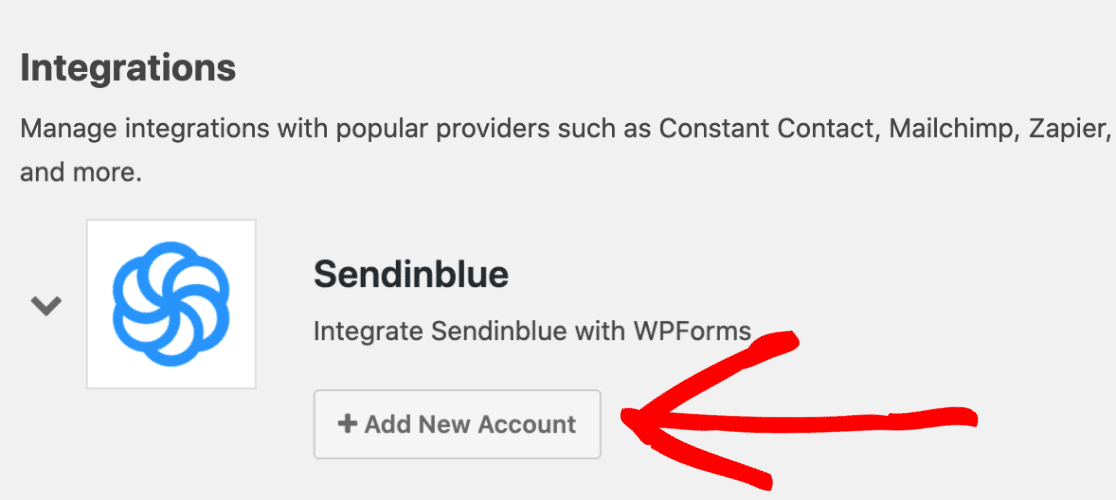
- Click on the Sendinblue option to expand it. Now, you have to click on the Add New Account button and enter your account details.
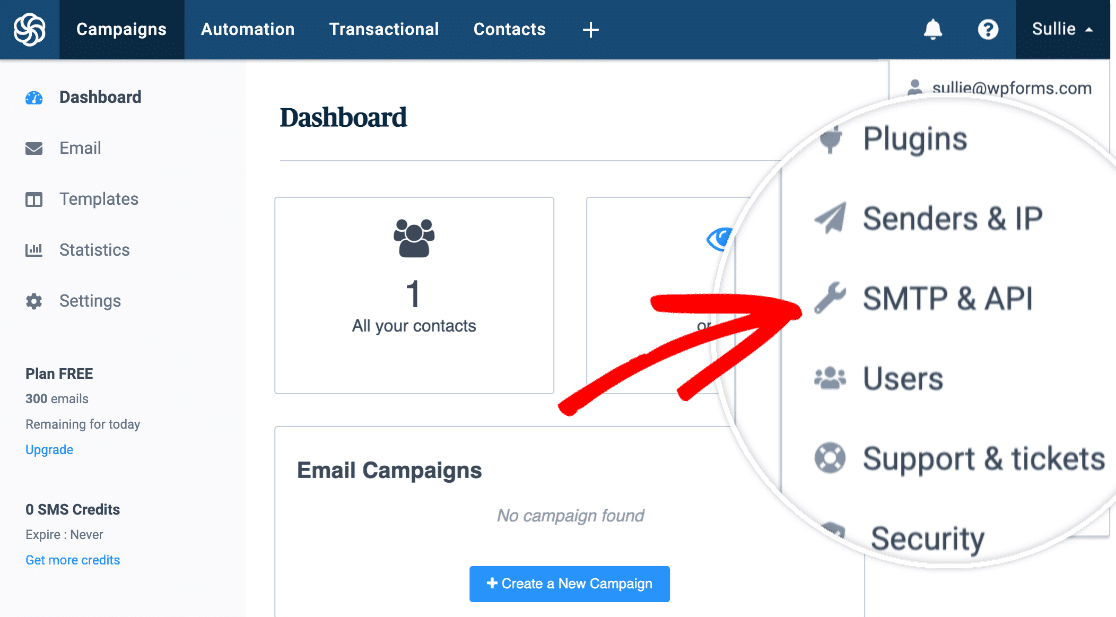
- You have to fill in two fields — Sendinblue account API key and nickname for the account. To locate your API key, log into your Sendinblue account. Next, click on the main menu, located in the top right corner, and select SMTP & API.
- Once you view your API key, copy it and move back to WPForms settings. On the WPForms window, paste your API key into the Sendinblue API Key field.
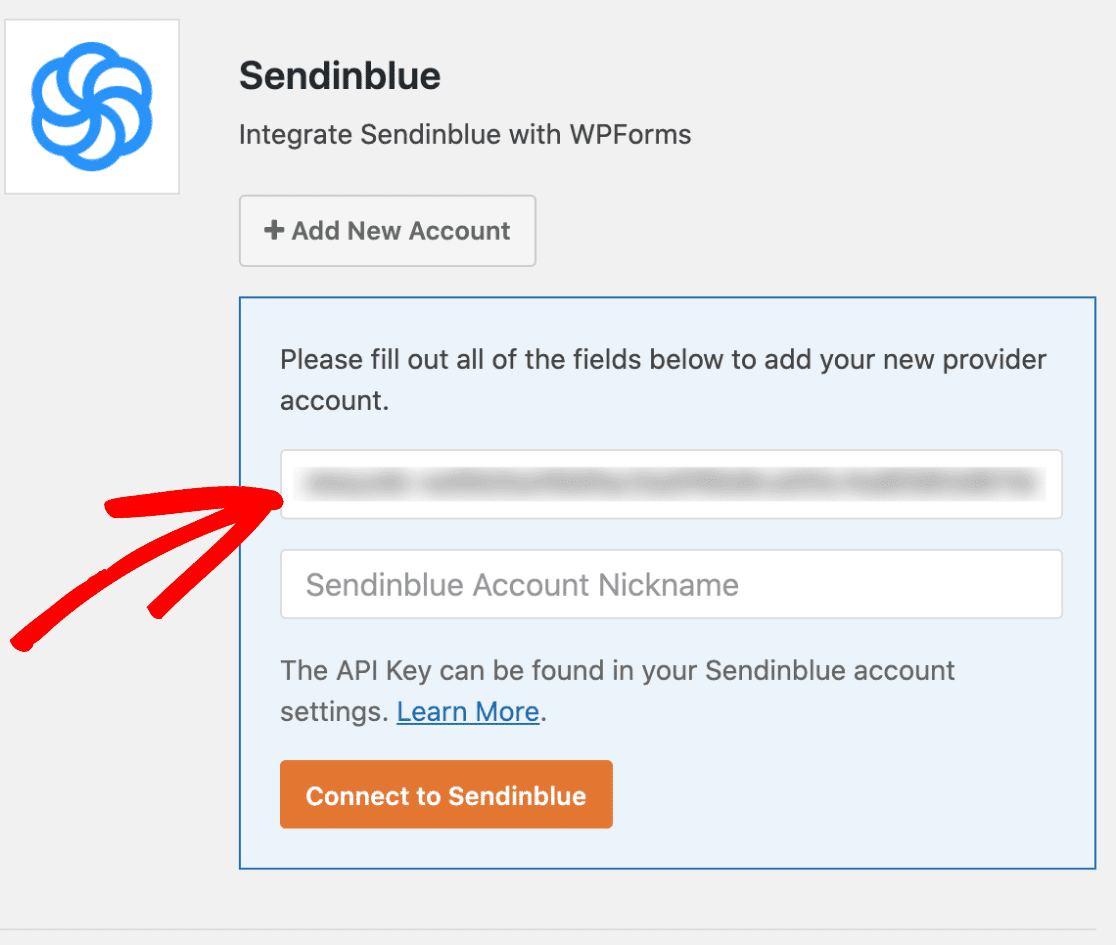
- You have to next add a nickname to the Sendinblue Account Nickname field. The name is for your reference only, so you can give it any name. Click on the Connect to Sendinblue button.
- WPForms is now connected to your Sendinblue account. If the connection is successfully made, you’ll see a Connected green status next to your Sendinblue integration.

Inserting Sendinblue Integration to Your Forms
- In this step, you’ll learn to connect forms to the Sendinblue. For that, you can create a new form using the WPForms plugin, or you can edit an existing form.
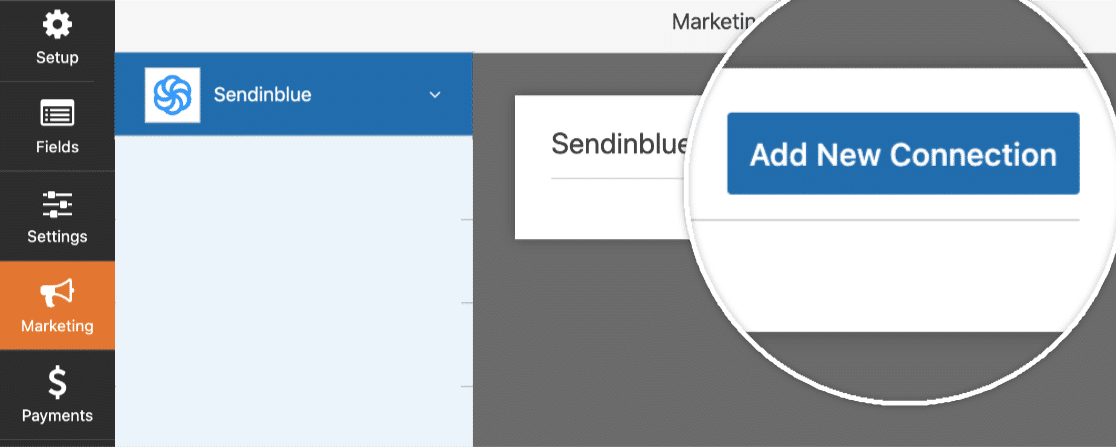
- Navigate to Marketing > Sendinblue > Click Sendinblue tab and then on the Add New Connection button.
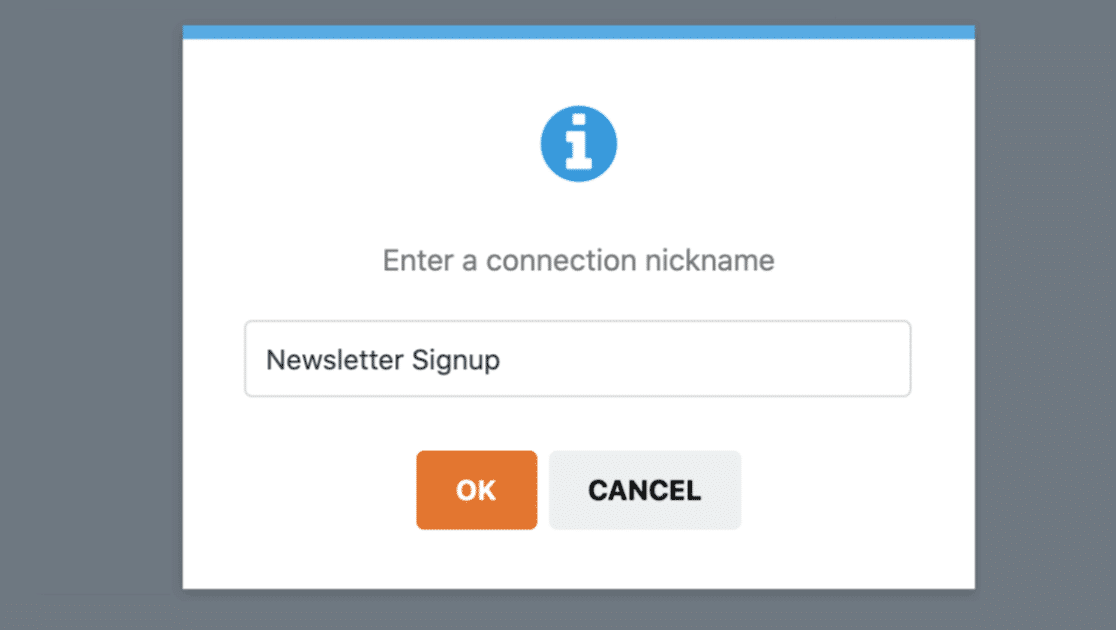
- An overlay will appear where you can enter a nickname for the connection. The name is for internal reference only, so enter any nickname.
- If you have multiple Sendinblue accounts connected to WPForms, you can select your preferred account from the dropdown menu. Under the Action to Perform tab, select the action you want to initiate when users submit your form. For example, you can select Subscribe to add new users to your contacts.
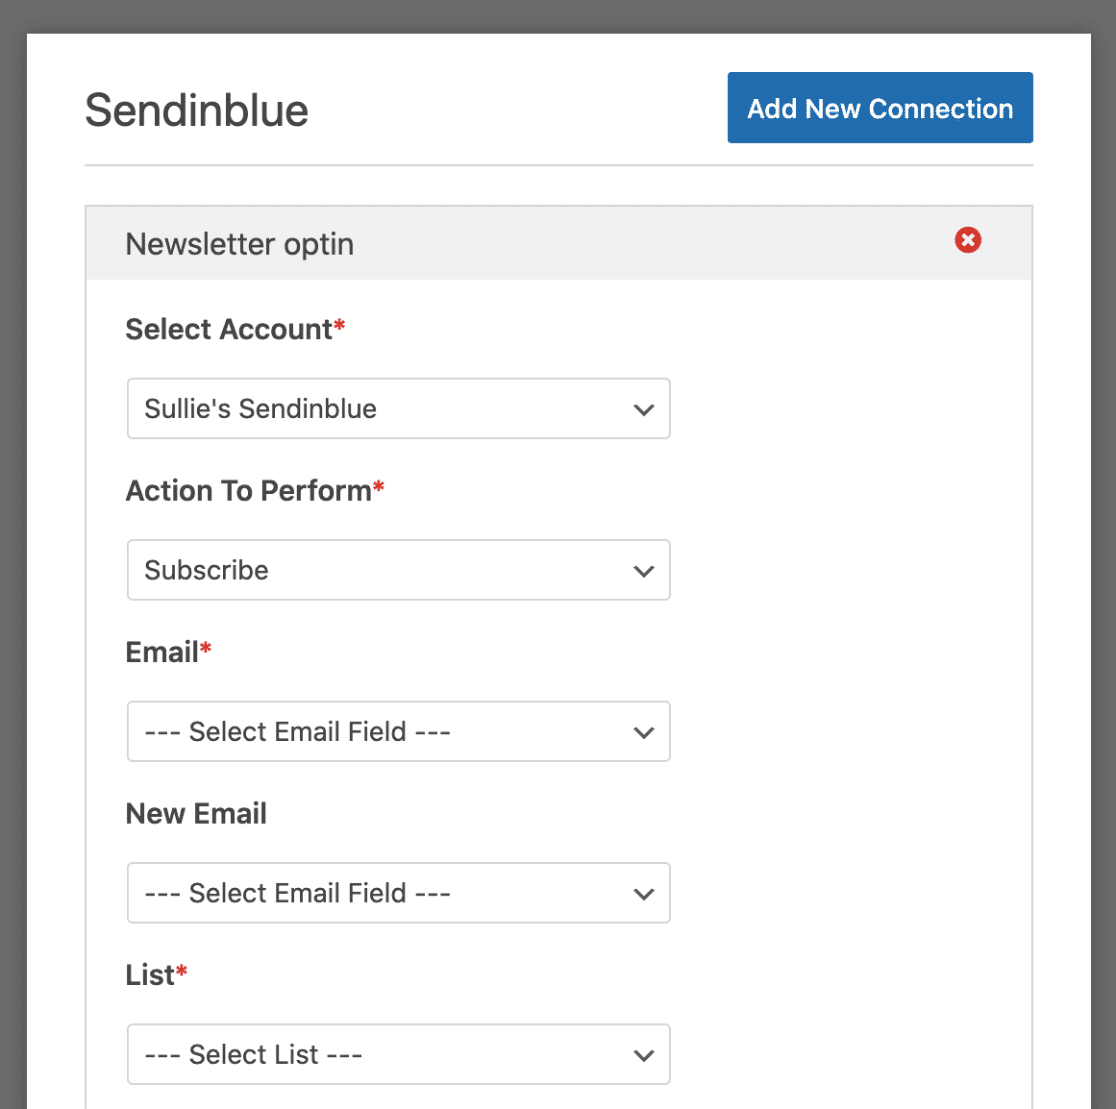
- Select the action to perform. The additional settings popup will appear:
- The email field will contain the subscriber’s email address.
- The new email field will have the alternate email address of the subscriber. This field is only required to update an existing contact in Sendinblue.
- The Sendinblue list that you want the subscriber to be added to.
You can map any custom fields under the Custom Field Name section. Save your form after configuring all the Settings. That’s it! You have just learned how to connect WPForms and Sendinblue on your WordPress site.
Benefits of Connecting WPForms And Sendinblue
- Set parameters for email automation and analysis which products garner the most on your email marketing strategies.
- Create forms targeting a certain segment that can raise your conversion rate.
- Apply a layout and design scheme to your signup forms with Sendinblue’s drag and drop interface. It allows you to personalize the landing page and embed your forms to it.
Bottomline
WPForms is one of the best premium WordPress plugins available in the market. It keeps coming up with new integrations that make it the MVP of the WordPress plugin world. Did you know that you can connect WPForms and Salesforce to automatically send contacts to the Salesforce app? This reduces the manual admin workload.
Similarly, WPForms and Sendinblue together can give a major boost to your email marketing efforts. So, let’s personalize your website forms with Sendinblue today! And, don’t forget to share your remarks with us. Check more details about WPForms here.

Leave a Reply