Learn How to Set Up Email Newsletter Tracking in Google Analytics
Do you want to know if your email marketing campaigns are generating enough sales? Many times we leave ourselves in a dilemma that how to measure the impact of our email newsletter? In this article, we will share a detailed guide on how to set up email newsletter tracking in Google Analytics. We’ll further drill down to understand the importance and need to enable the tracking in Google Analytics.
What are Email Newsletters?
Email newsletters are informational one-pager or two-pager sent to your contact list via email. It holds information about latest tips, news, and updates of your product, company or website.
It keeps your subscribers connected to you about anything new about your website, product, or services. Not just sales, email marketing is also a great tool for customer retention. In fact, a study from Hubspot states that 80% of business professionals believe that email marketing increases customer retention.
Email marketing has always been the top priority of marketers. So, if you are not using email marketing to improve sales, then we highly recommend you start doing that.
What is the Need for Email Newsletter?
“Did you know that there are 3.9 billion users in 2020 who open their emails every day,” states a study from Statista. Well, there’s the need sitting right there in the form of a huge customer base waiting to get swoon by you.
While sending email newsletters to your subscribers, try to add at least one link of your website in it. Now, your email marketing metrics will tell you how many clicks you got on your link. But, many of the providers are not able to show you the after steps. These insights have to be actionable.
Now, with the help of Google Analytics, by linking your accounts, you will be able to track the details. You will be able to see number of clicks, conversions, and sales for each email.
Your Google Analytics account will be your sole provider of all the numbers and actionable insights.
The Benefits of Email Newsletter-Tracking
Email tracking’s main objective is to help businesses in learning more about the responses of the customers.
You can collect data of their clicks, time spent by visitors on your website, whether your visitors are buying anything after opening the email newsletters and much more. The main importance of email tracking is in the data which is relented.
Now, below with the help of MonsterInsights plugin and eCommerce addon, we will show you how to setup email newsletter tracking.
How to Set Up Email Newsletter-Tracking in Google Analytics?
There are hundreds of paid and free WordPress plugins available in the market. MonsterInsights is one of the best and most used Google Analytics plugins for WordPress.
Being a WordPress user, you might want to skip all the fuss of going to Google Analytics dashboard and enable every metric in WordPress directly. In that case, install Google Analytics on WordPress with MonsterInsights plugin. It simplifies the whole process of tracking and setting up details about your website and gives you the best results.
Now, let’s dive directly and tell you how to set up email newsletter tracking in Google Analytics.
Step 1: Install MonsterInsights & eCommerce Addon
- Firstly, you’ll need to install the MonsterInsights plugin on your WordPress website.
- Go to MonsterInsights website and log into your MonsterInsights account by clicking on the login button.

- After logging in, go to the downloads button present on the top of your screen.
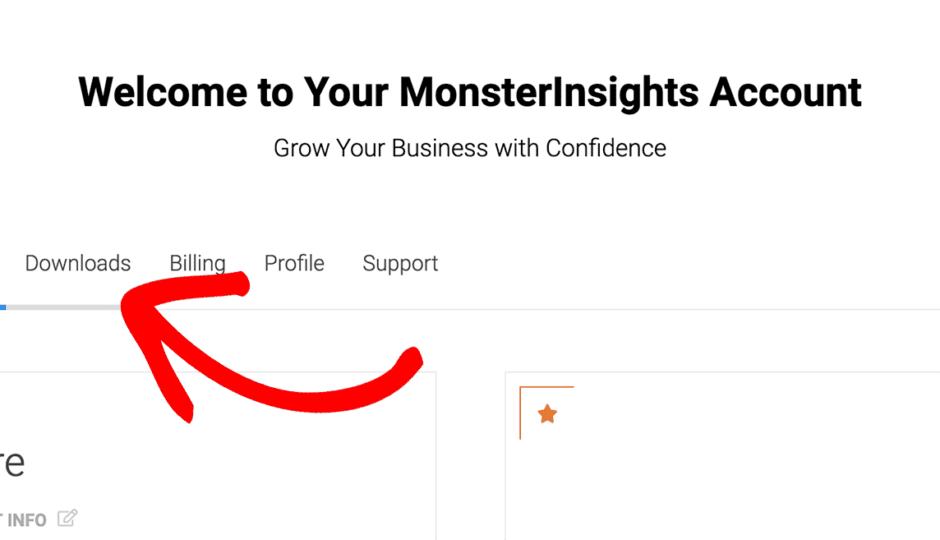
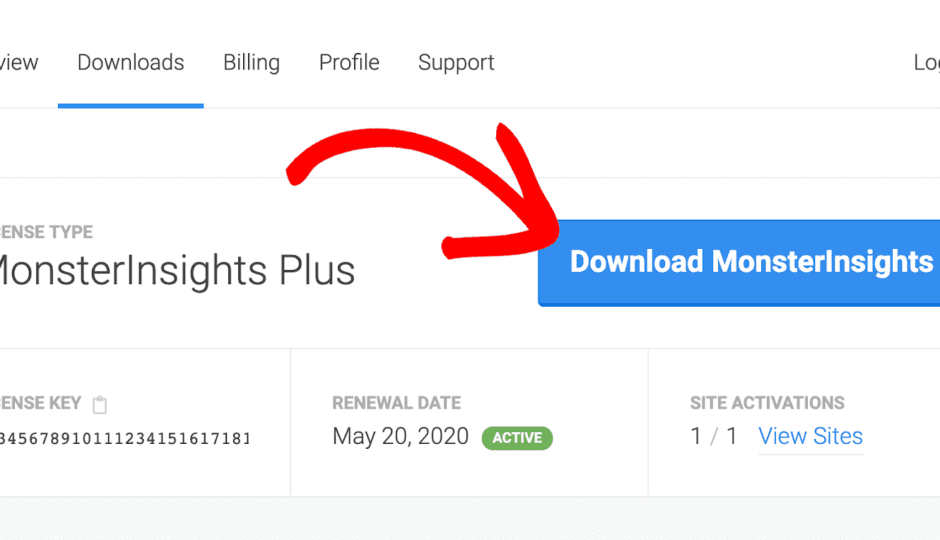
- As you click on downloads, you will see a big blue button with download Monsterinsights written. Click it.
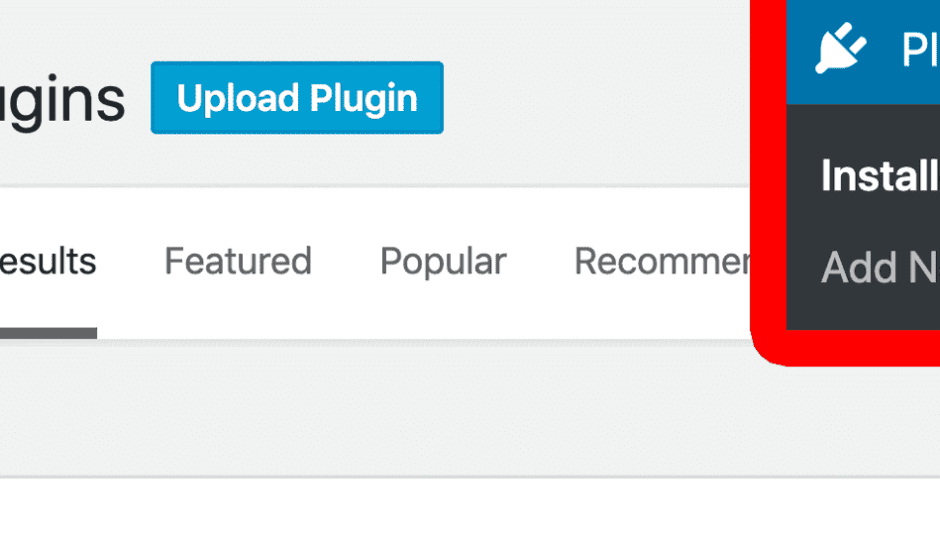
- Now, you have downloaded the file. Go to the plugins option in your WordPress dashboard and click on add new . Then click on the uploaded plugin button available on the top.
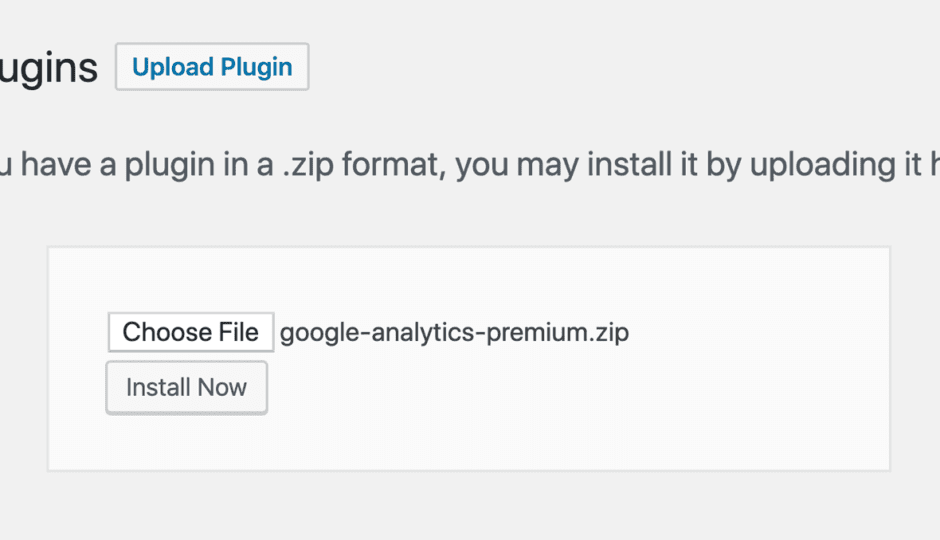
- Choose the file and click on the install now button.
- As you have installed the plugin, click on the activate plugin button, to activate the plugin on your website.
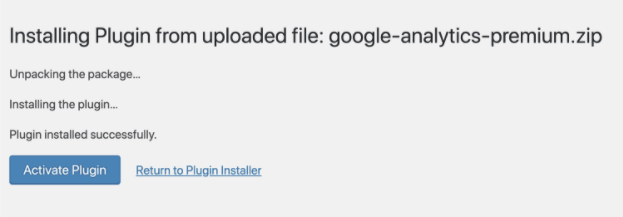
- Lastly, install the eCommerce addon on your website.
Step 2: Enabling eCommerce Tracking in Google Analytics
- First, log into your Google Analytics account. If you don’t have one, the first thing you should do is set up your Google Analytics account.
- Now, select your website in which you would enable eCommerce tracking.
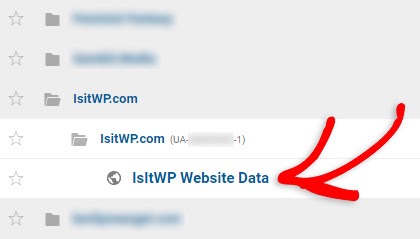
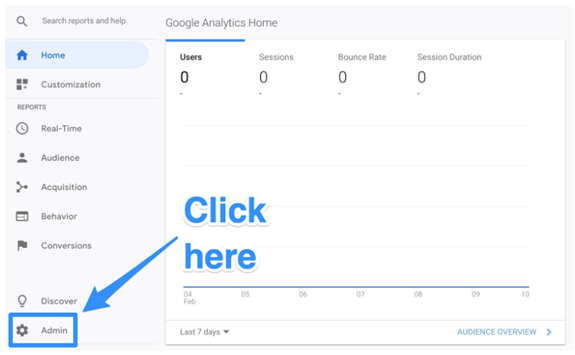
- Now, click on the admin button available in the right menu bar.
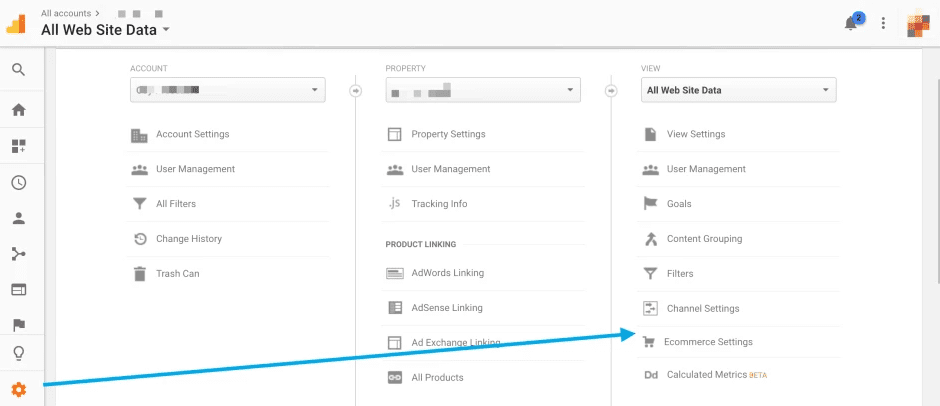
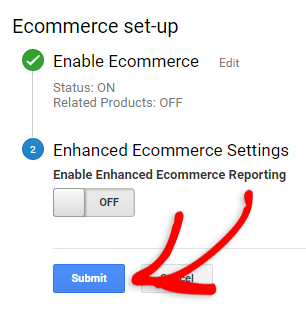
- Then, click on the eCommerce settings that are present under the right column.
- Click on the slider present, now, where you will see the enable commerce status.
- Turn on the off button and click on submit to save the changes.
Step 3: Creating a Trackable URL
- Now, with the help of the MonsterInsight URL builder, we will create a custom URL with a UTM code, so that you can track your emails.
- First, go to the MonsterInsight plugin and go to insights and then click on tools.
- You will find a website URL box in which you will enter any URL you want to track and also will get information on all its parameters.
- Add the parameters to a link. The parameters contain the following elements.
Website URL: You will enter your website’s URL in this particular field.
Campaign Source: A campaign source is used to describe the traffic source in which your link would be placed.
Campaign Medium: A campaign medium is used to describe the marketing activity for which your link will be used.
Website Campaign Name: The campaign name is used when you want to send someone a promotional email, you can specify or mention the series here.
Campaign Term: You can use this field to run paid advertisements and also can add the keywords you want to use in your advertisement.
Campaign Content: When you want to test an A/B campaign, you can thus use this field to differentiate the links and also will be able to add the points to a similar URL.
Use Fragment: If you want, you can break the UTM code into small fragments. It is an enabling option and you can choose accordingly to turn it off or on.
- Now, as the details are specified to you, you can insert these into your email campaign.
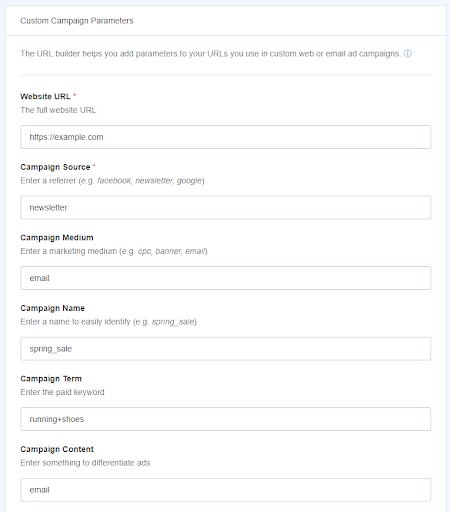
- The full URL may look something like in the image below.

Step 4: Finding Email Tracking Report in Google Analytics
- If you want to get access to your email campaign report, you will go to the acquisition, then will click on campaigns and will click on the all campaigns button.
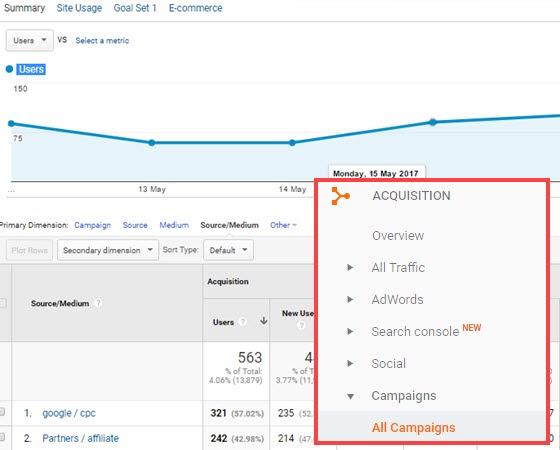
- You will see that by default, the Campaign Name is set as the primary dimension of your report.
- You will find that, above the tabular report, you are allowed to choose a different primary dimension. For example, the source, medium etc.

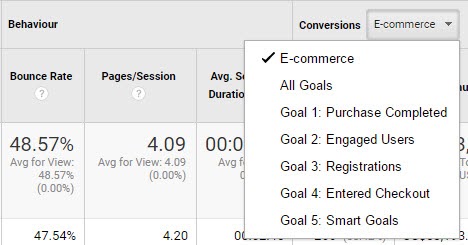
- Now, go to the E-commerce drop-down button available in the conversions column. This will help you to view the email marketing campaign leads to sales. Thus, you will be able to view and track the email details.
- You can also do this with the help of the eCommerce addon where you need to go to insights and click on reports and then go to eCommerce.
- With the help of this report, you will be able to see transactions, revenue, top sources etc.
- You now successfully know your email campaign reports and can analyze whether you are in loss or in the path of success.
Bottomline
We hope this guide on how to set up email newsletter tracking in Google Analytics was helpful to you. With the help of Google Analytics, you will now know the detailed profits of your email newsletters marketing.
With this, you will be able to successfully track your website’s email campaign performance, create customized URLs and therefore can improve your performance in the future with the helpful insights available.

Leave a Reply