How to Add Custom Product Builder in WooCommerce? (Best Guide)
Want to increase your WooCommerce website sales? If yes, simply learn how to add a custom product builder in WooCommerce. Wondering why? You see, 75% of online shoppers prefer brands that personalize their offers. And using a custom product builder, you can provide a new level of customization to your customers. This, in return, will boost your online user experience by 8%. Excited? So let’s learn how to add custom product builder to your WooCommerce website now.
Benefits of Adding Custom Product Builder in WooCommerce
Using a custom product builder, you can allow your customers to personalize their order before purchasing, such as print-on-demand, customized quantity, etc.
Ecommerce owners can customize products on demand when they receive orders from the customers. This will save them huge inventory management costs.
Additionally, you can easily launch your dropshipping business and leave shipment worries on third-party vendors.
In 2021, around 24 million eCommerce sites are available. And with your unique customization approach, you can effortlessly attract more customers.
How to Add Custom Product Builder in WooCommerce?
To add a custom product builder in WooCommerce, I will be using the Zakeke plugin in this guide. That’s because this tool facilitates:
- Real-time 2D, 3D, and AR customization
- Guarantees +250% conversion rate increase
- A variety of products customization options like engraving, printing, and more
- Smooth integration with Shopify, WooCommerce, PrestaShop, and many other platforms
To customize your WooCommerce store with Zakeke, you have four different pricing options — Starter ($6.99/month), Advanced ($9.08/month), Unlimited ($13.99/month), and Unlimited + Configurator ($139.99/month).
You can also start with a free 14-day trial and use our coupon codes to get a bumper discount on a Zakeke subscription.
Now, you know why I use and recommend Zakeke, so let’s learn how to add a custom product builder in WooCommerce next.
Sign Up for Zakeke Account
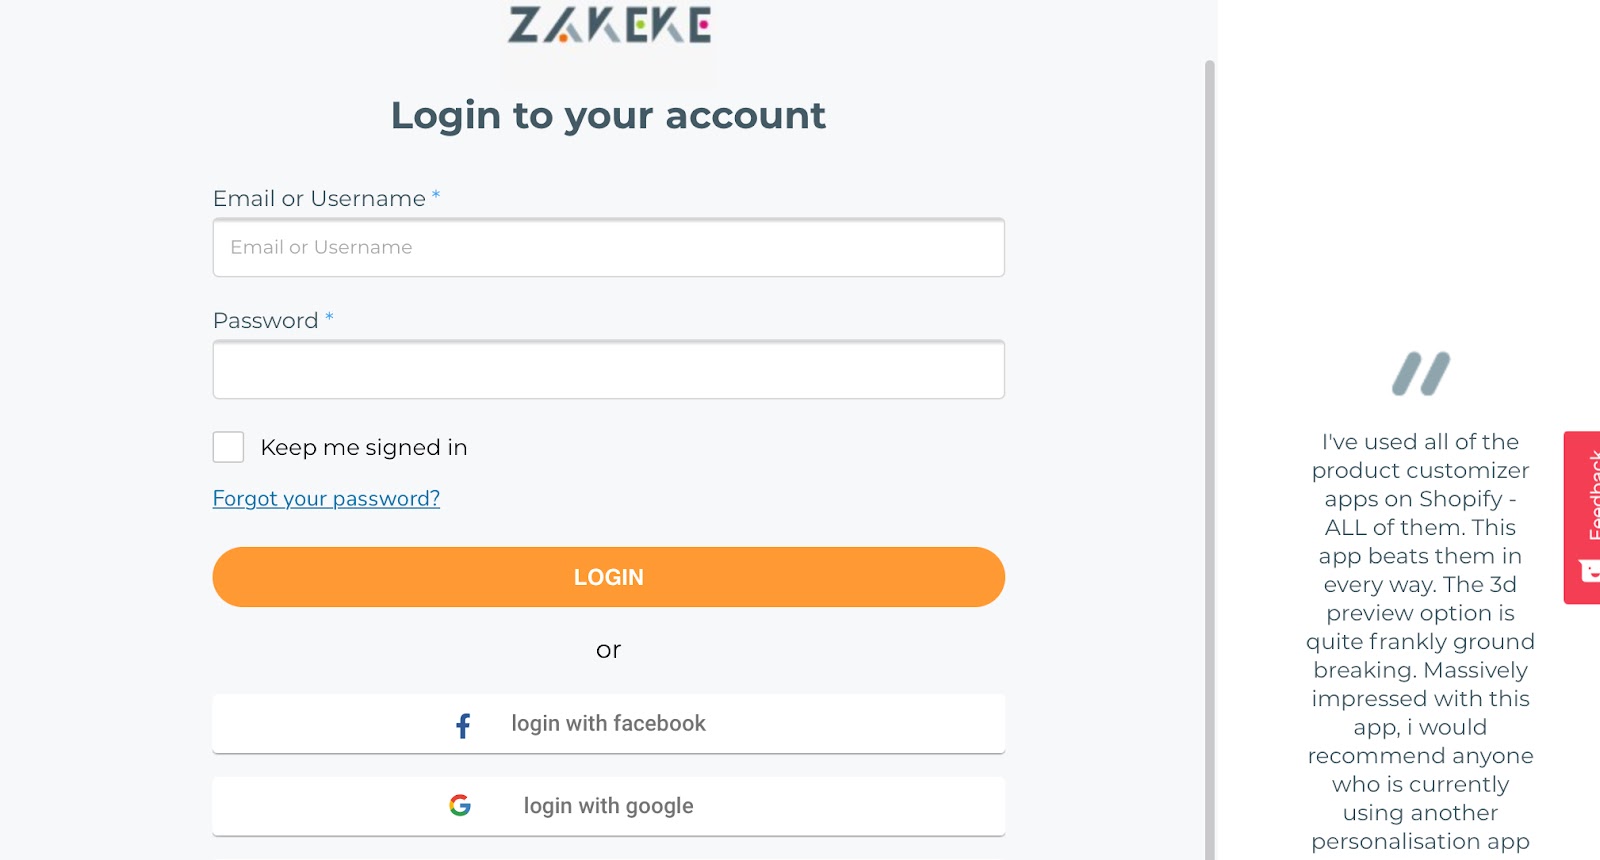
Go to the Zakeke website, click on the login button at the top of the screen. If you already have a Zakeke account, enter your username and password. Otherwise, click on Sign Up to create one.
Install & Activate The Zakeke Plugin
After creating a Zakeke account, go to your WordPress dashboard and install a Zakeke plugin. For that, go to Plugins > Add New and search for the plugin.
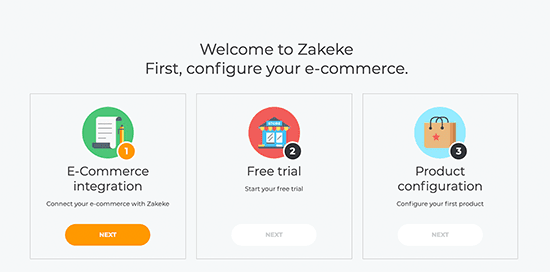
Upon activation, you can connect your WooCommerce store to your Zakeke account by clicking on the Connect button.
On the next screen, click on the Approve button to allow Zakeke to perform an action on your WooCommerce store.
After that, you can select the Zakeke pricing plan as per your requirements. For this guide, let’s go for a free trial and click to continue. And you are all ready to add custom products to your site.
Add Your First Customizable Product
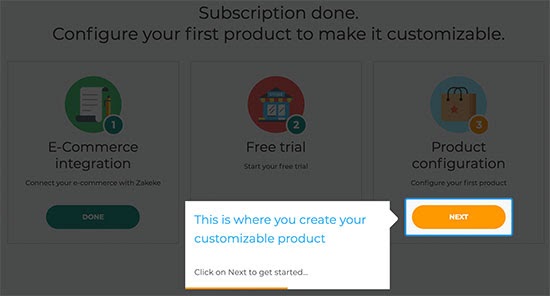
Click the Next button and launch the Product configurator to add your customizable products.
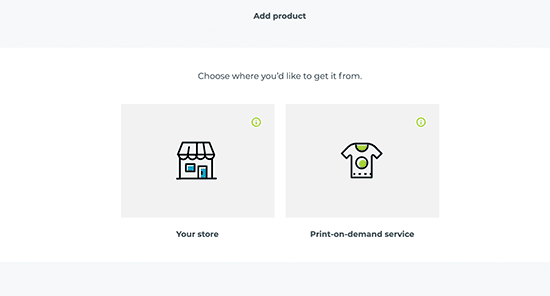
Here you can select a product from your own WooCommerce store or can select a print-on-demand service. In this guide, I’ll show how to add a custom product from your own eCommerce store.
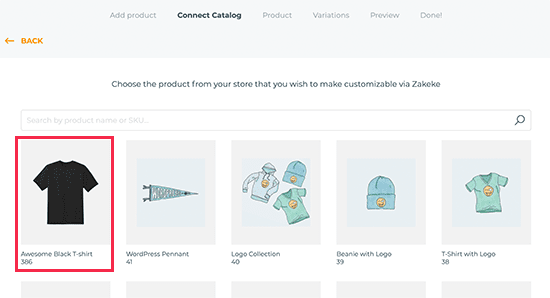
Once you select your own store option, Zakeke will load products from your store, and you can select the products that you wish to configure.
After that, select the product image from your store, or you can upload the image from your device.
Next, click on the ‘Set print area’ button to bring a popup where you can set a ruler by drawing a line with your mouse and providing a measurement area.
Moving forward, you should choose a shape for the print area to draw on the product. Once you are satisfied with the product customization area, click on the Save button. You can also click on the Proceed to preview button to finalize your changes.
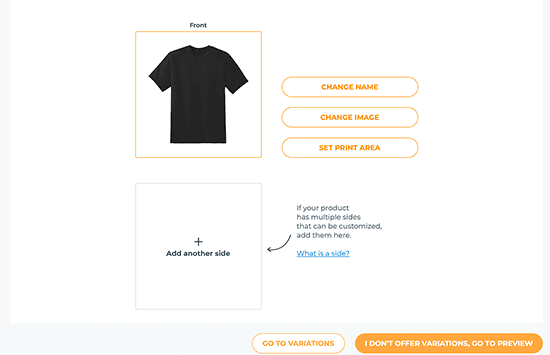
You can now see all your product details. If everything is fine, you can save your changes as a draft or publish them in your store.
Define The Print Methods
In this step, you have to set print methods. For this, you can select how you wish to design files to format for the printing process. To do so, go to the Zakeke dashboard > Printing Methods > Add
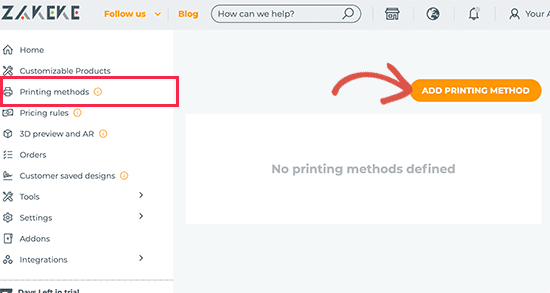
Printing Method button.
From here, you can choose the printing features that you want to provide to your customers. Additionally, you can pick the file types, format, and resolution.
Go to the bottom of your screen and select the product to which this method should apply. Finally, click on the Save Print Method button to save your changes.
Add Customization Options Using The Custom Product Builder
Zakeke here will smoothly add the product customization options to all the products you have selected in the previous step.
For that, visit your WooCommerce store, and there you will find the Customize the product option.
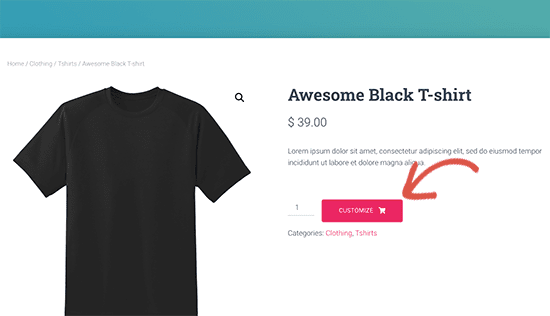
Now, the product designer interface will open up with a preview of the product image design tools. In addition, users have the option to add text or images to the product.
Further, the user can place the image or text anywhere on the print area with simple dragging. Also, users can customize the font style, color, size, and so on.
The product designers can automatically adjust according to the user’s screen size.
Once done, shoppers can download a copy of their design, save it for later, or simply order it.
Process The Custom Product Order in WooCommerce
Zakeke has made the custom product order process super smooth. Just go to the WooCommerce > Orders page > Customisable product.
On the order details page, you can preview your custom design created by the customers with a link to download the customization files.
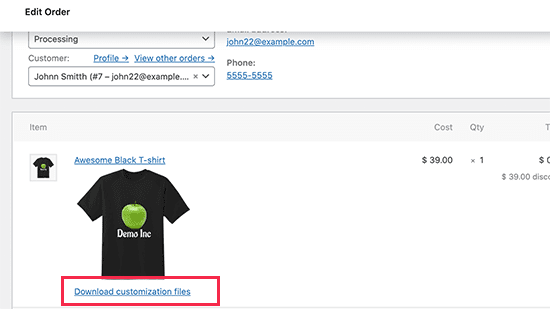
You simply just have to download the print files and send them for printing or to dropshipping vendors.
How to Boost Your Customizable Products Sale?
If you have made so many efforts to provide custom product options to your customers, you should also make some efforts to show that to your customers.
Here OptinMonster comes as the solution.
It is the perfect software to easily convert your WooCommerce visitors into your customers. By installing OptinMonster, you will get lightbox popups, countdown timers, slide-in popups, and many other features. Using all these options, you can highlight the right message to your customers at the correct time.
Further, you can manipulate OptinMonster in multiple ways to target customers with personalized campaigns. For instance, you can create a slide-in popup to offer limited period free shipping for customizable products.
The Bottomline
There you go! You are now ready to add custom products to WooCommerce. With Zakeke’s custom product builder, you can give your customers multiple product customization options and expand your conversion rate in no time.
Additionally, you have OptinMonster to track and improve your WooCommerce conversion rate with ease. You simply need to upgrade your Zakeke and OptinMonster membership, and your revenue will automatically increase.

Helpful and well written. All the steps of this tutorial are clear as crystal and easy to understand. Thanks for making and sharing this nice content.